Who lives in Calgary, just an hour away from the famous Rockies and world-class ski resorts, and doesn’t indulge in winter sports? That’s why, despite starting a bit later at ages 29 and 34, we decided to enrol in snowboarding classes, proving it’s never too late to hit the slopes!
Snowboarding is a popular winter activity, especially in Calgary. As soon as the snow falls, you’ll hear chatter about booking ski or snowboard trips to the mountains. Winter weather can be chilly, so it’s no wonder people seek out ways to stay active and happy during the season.
Nick, despite living in Calgary since he was a teen, had never tried snowboarding. Eartha, having lived in the tropics, obviously hadn’t either. But since it was a huge topic among our friends and co-workers, we both decided to give this sport a try, even though we are in our late 20s and mid 30s.
What’s in This Post
Snowboarding 101
Before we dive in, let’s talk a bit about snowboarding. As snowboarding beginners, we remember how confused we were when our friends used all those snowboarding terms. There was even a time we thought we were talking about two different things, only to realize they were actually the same!
Terms
Here are some basic snowboarding terms to get you started:
The Board
- Nose: The front end of the snowboard.
- Tail: The back end of the snowboard.
- Edge: The sides of the snowboard that contact the snow for turning and control.
- Toe Edge: The edge closest to your toes.
- Heel Edge: The edge closest to your heels.
- Base: The bottom surface of the snowboard that glides on the snow.
- Bindings: The hardware that attaches your boots to the snowboard.
Your Stance
- Stance: The orientation of your feet on the snowboard.
- Regular: Riding with your left foot forward.
- Goofy: Riding with your right foot forward.
- Duck Stance: A stance where both feet are angled outward, resembling a duck’s feet.
- Centered Stance: Positioning your bindings equidistant from the nose and tail of the snowboard.
- Setback Stance: Positioning your bindings closer to the tail of the snowboard for better float in powder.
- Switch: Riding with your non-dominant foot forward.
- Forward Lean: The angle of your bindings that tilts your ankles forward for better edge control.
The Environment
- Powder: Fresh, light, and fluffy snow that is ideal for deep powder riding. It provides a smooth and cushioned surface for carving and floating.
- Slush: Wet, heavy snow that occurs when the temperature rises and snow starts to melt. It can make riding more challenging as it slows down the board and requires more effort to maneuver.
- Crud: Mixed or uneven snow conditions, often consisting of partially melted snow, chunks, or bumps. It can be challenging to ride through and requires adaptability and skill to navigate.
- Ice: Hard-packed or frozen snow surface that can be slick and unforgiving. It requires precise edge control and technique to maintain control and stability.
- Groomed: Snow that has been flattened and compacted by grooming machines, resulting in a smooth and even surface. It provides optimal conditions for carving and high-speed riding.
Riding Styles and Movements
- Carving: Making smooth, controlled turns by leaning on the edges of your snowboard.
- Leafing: Traversing back and forth across the slope in a zigzag pattern, using either the heel edge or toe edge to control speed and direction. Also known as “falling leaf,” it’s a beginner technique to gain confidence and control while descending.
- Linking Turns: Connecting consecutive turns fluidly without stopping.
- Speed Check: Slowing down briefly by turning across the fall line or using your edge to control speed.
- J-Turn: A beginner technique where you start by riding straight, then gradually turn to one side to form a shape like the letter “J”.
- C Turn: A technique where you make a single, gradual turn in the shape of the letter “C”. This helps beginners practice controlling their edge and direction when turning.
- S-Turn: A technique where you link a series of turns to create an “S” shape down the slope. This involves alternating between heel and toe edges, helping riders develop rhythm and control in their turns.
- Switch Riding: Riding with your non-dominant foot forward, challenging your balance and coordination.
- Ollie: A jump performed by snapping the tail of the snowboard off the snow, allowing the rider to catch air.
- Dynamic Riding: Riding with fluidity and energy, using your body’s movements to control the snowboard.
- Freestyle: Riding focused on tricks, jumps, and creative maneuvers.
- Freeride: Riding off-piste, exploring natural terrain, and seeking out fresh powder.
The Techniques
- Balancing: Maintaining a centered stance and distributing weight evenly between both feet to stay balanced on the snowboard.
- Edging: Tilting the snowboard onto its edge to initiate and control turns, using either the toe edge or heel edge.
- Turning: Changing direction by shifting weight and applying pressure to the edges of the snowboard, resulting in either a toe-side or heel-side turn.
- Flexion and Extension: Flexing and extending the legs to absorb terrain features, maintain stability, and generate power for maneuvers.
- Rotations: Turning the upper body and twisting the hips to initiate spins and rotations while airborne or on the snow.
Snowboarding Apparel
When snowboarding, some clothing and accessories can be rented, while others cannot. Each ski resort or area has its own rental policies, but here are the common items you need to own and those you can rent.
Typically Owned
- Snowboard Jacket: Provides insulation, waterproofing, and breathability to keep you warm and dry on the mountain.
- Snowboard Pants: Offer waterproof protection and insulation while allowing for freedom of movement.
- Base Layers: Moisture-wicking thermal tops and bottoms worn underneath outer layers to provide warmth and manage sweat.
- Gloves or Mittens: Insulated gloves or mittens designed to keep your hands warm and dry in cold, snowy conditions.
- Beanie: Protects your head from cold weather and impacts.
- Goggles: Protect your eyes from wind, snow, and UV rays while providing clear vision on the slopes.
- Neck Gaiter or Balaclava: Provides extra warmth and protection for your neck and face in cold and windy conditions.
- Socks: Moisture-wicking, cushioned socks designed for snowboarding boots to keep your feet warm and comfortable.
Can Often be Rented Out
- Snowboard: Rental snowboards come in various sizes and styles to suit different riders’ abilities and preferences.
- Bindings: The hardware that attaches your boots to the snowboard can also be rented if you don’t have your own bindings.
- Boots: Snowboard boots are available for rental and should be chosen based on your shoe size and riding style.
- Helmet: Helmets are essential for safety while snowboarding and are typically available for rent for those who don’t have their own.
- Wrist Guards: These protective gear items can help prevent wrist injuries and are available for rent at some locations.
Some well-known snowboard brands and accessories are Burton, Salomon, K2, Ride, and GNU. When we rented our snowboards, we often got Burton or Salomon boards, which shows that these brands are reliable and worth investing in. Still, it’s important to talk to an expert and get advice on which board and accessories to invest in. This way, you can ensure the board is tailored to your size, riding style, and skill level.
If you’re wondering whether to buy clothing, a board, and accessories upfront, we’d recommend holding off until you’re sure you want to continue with the sport, as the initial investment can be pricey. Since we had to get the apparel, we bought ours at Decathlon during a sale. The gear was pretty decent, got us through our four snowboarding classes, and was adequately padded and waterproof.
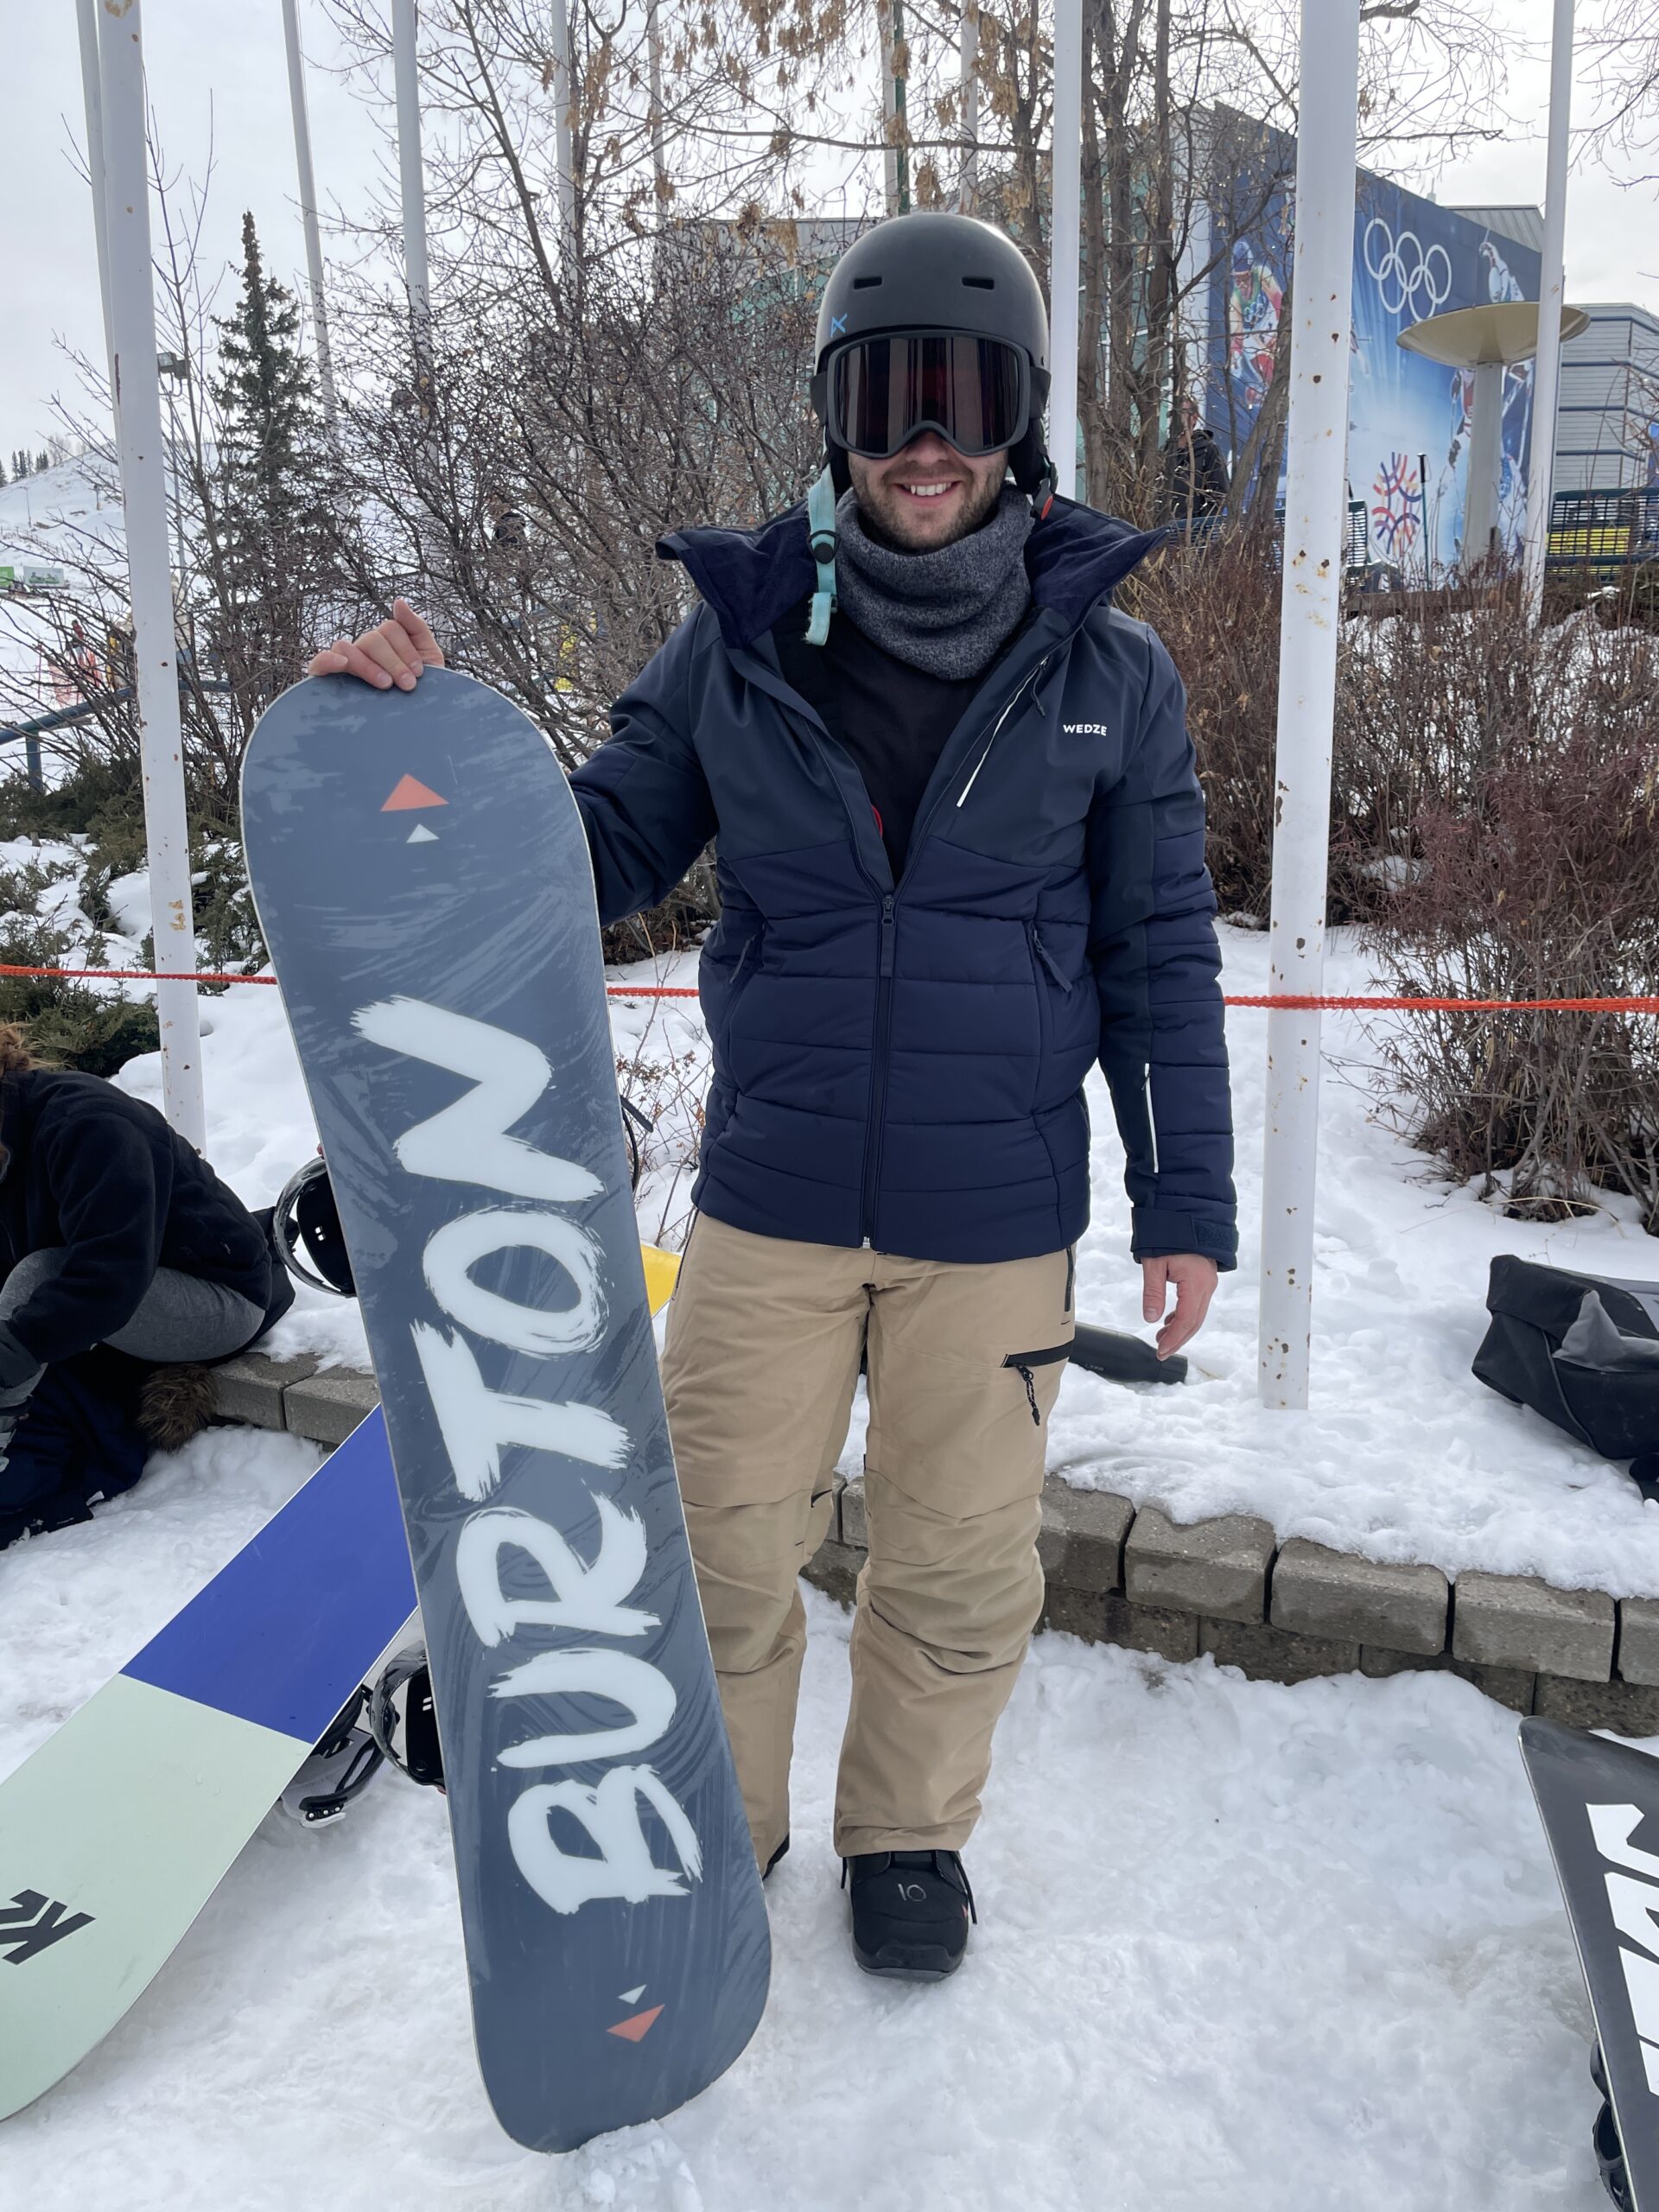
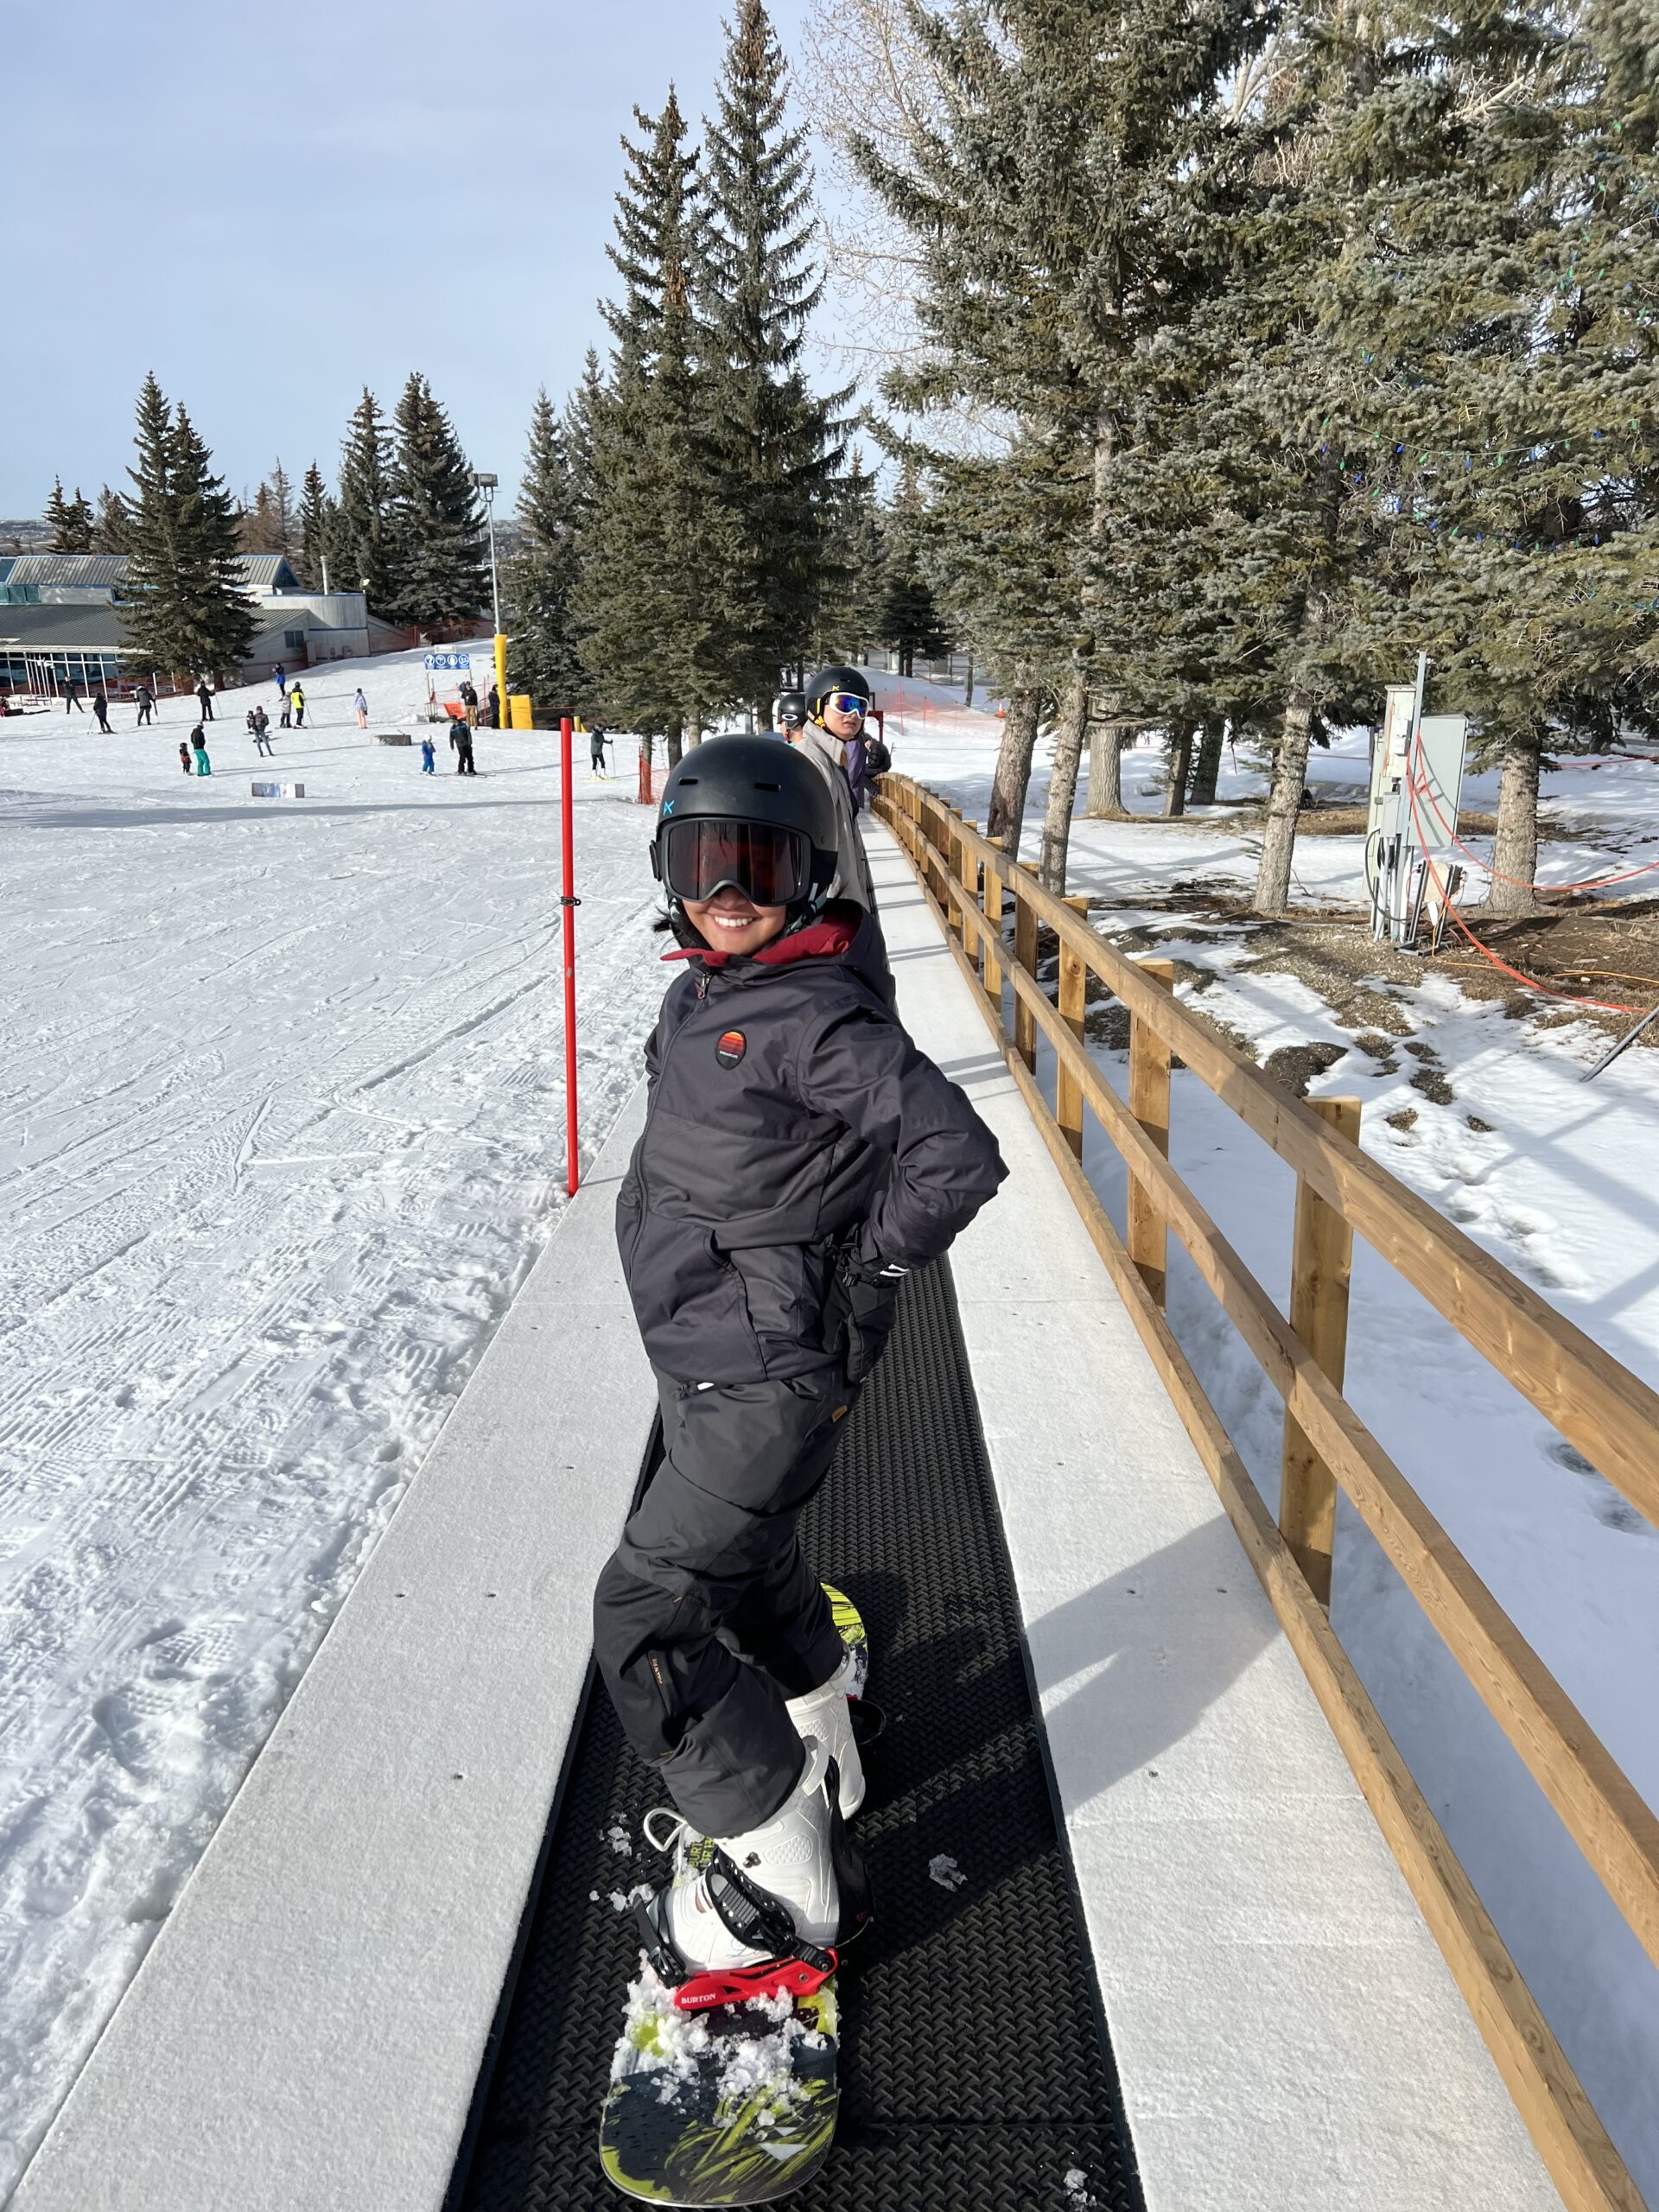
Overall, Nick paid about CAD$250 for the snowboard jacket, snowboarding pants, goggles, and waterproof gloves, while Eartha paid about CAD$180 for the same items since she was able to buy some clothing from the kids’ section. For the boots, Eartha had a co-worker who used to snowboard and sold her two pairs.
Rental equipment prices vary depending on the location and the duration of the rental. For first-timers, renting is often the best option as it ensures you get the correct boot size, snowboard size, helmet, and bindings that suit your height and skill level. There are many technical details involved, and as beginners, it’s helpful to ask experts for advice.
Why try snowboarding?
- Snowboarding keeps you moving in the winter
Like any other exercise, snowboarding is an awesome way to stay active during Canada’s snowy winters. With half the year covered in snow, options for outdoor activities can be limited. Snowboarding not only keeps you active but also offers a thrilling challenge. Don’t be fooled by its chill appearance – it demands strength and energy!
- Adds fun to winter and gives you something to look forward to
We used to dread winter and couldn’t understand those who got excited when the snow fell. But once we started snowboarding, we found ourselves looking forward to it, especially because of the powder! Powder is a snowboarder’s best friend—it makes the ride magical.
As winters get harsher each year, there’s not much you can do outdoors. Everything feels cold and a bit As winters get tougher, with limited outdoor options and everything feeling chilly and dull, snowboarding offers a thrilling escape into snowy landscapes. It’s not just a sport but a way to embrace winter with excitement and adventure.
- Snowboarding opens up opportunities to socialize
In our offices, we love chatting about winter activities. Eartha’s coworkers are particularly enthusiastic about their annual ski and snowboarding trips. It’s not just about hitting the slopes—it’s a chance to hang out with colleagues, friends, and family, enjoying lively evenings with live music at nearby restaurants and fun activities in the lodge. It all adds up to a memorable winter social experience that everyone looks forward to.
Watch Out: Things to Keep in Mind for snowboarding
- Stay active
It’s a good idea to stay active at least 48 hours before heading to the mountains. Do some cardio, leg and core exercises, balance drills, flexibility training, agility exercises, and plyometrics. Also, practice falling safely. Especially if you’re starting as an adult like us, warming up and training your body can help prevent injuries.
- Snowboarding Can Be Dangerous
Snowboarding can be risky, which is why you’ll have to sign a bunch of waivers. It’s easy to injure your wrists or tailbone, especially if you don’t know how to fall properly.
- Snowboarding Can Be Expensive
Snowboarding isn’t a cheap hobby. Basic clothing can cost between $150 and $300. A full setup with a board, bindings, boots, and travel accessories can cost thousands, especially if you buy everything new. Plus, park passes and lift tickets can add another $140.
- Snowboarding is Tough
Snowboarding is particularly challenging for adults who are more conscious of falling and might not be as flexible. As beginners, we fell a lot and were exhausted after each class. Two hours of snowboarding (about five runs on a green slope) felt like a full day of working out. And falling on our bum hurt a lot!
- Snowboarding Requires Commitment and Confidence
Snowboarding takes a lot of commitment and confidence. If you don’t commit to your turns, you’ll fall, and you might catch an edge. And trust us, catching an edge, especially your toe edge, is the worst! You won’t see it coming, and it happens so quickly that you have no time to prepare.
You also need to commit when stopping to avoid injuries. Without confidence, you’ll be tense and waste a lot of energy. We only started enjoying snowboarding once we felt more confident and relaxed, which came after a lot of practice and many falls.
Our Take on Snowboarding
It was winter, and we had just wrapped up the 75 Hard Challenge. Looking to dive into some winter activities, we noticed that snowboarding was a popular sport among our co-workers and friends. So, we decided to give it a shot. After exercising for the past 75 days, we felt pretty confident that we could handle the physical demands of snowboarding.
We got tons of advice from our co-workers and friends, who even offered to teach us for free. They said the basics of snowboarding are pretty easy to learn. But, considering the risks associated with the sport, we decided to take classes even though it would cost us. After checking online, we found classes at Winsport, Calgary Olympic Park. They offer lessons for different ages and skill levels, from beginners to more advanced snowboarders.
Snowboarding Classes at WinSport
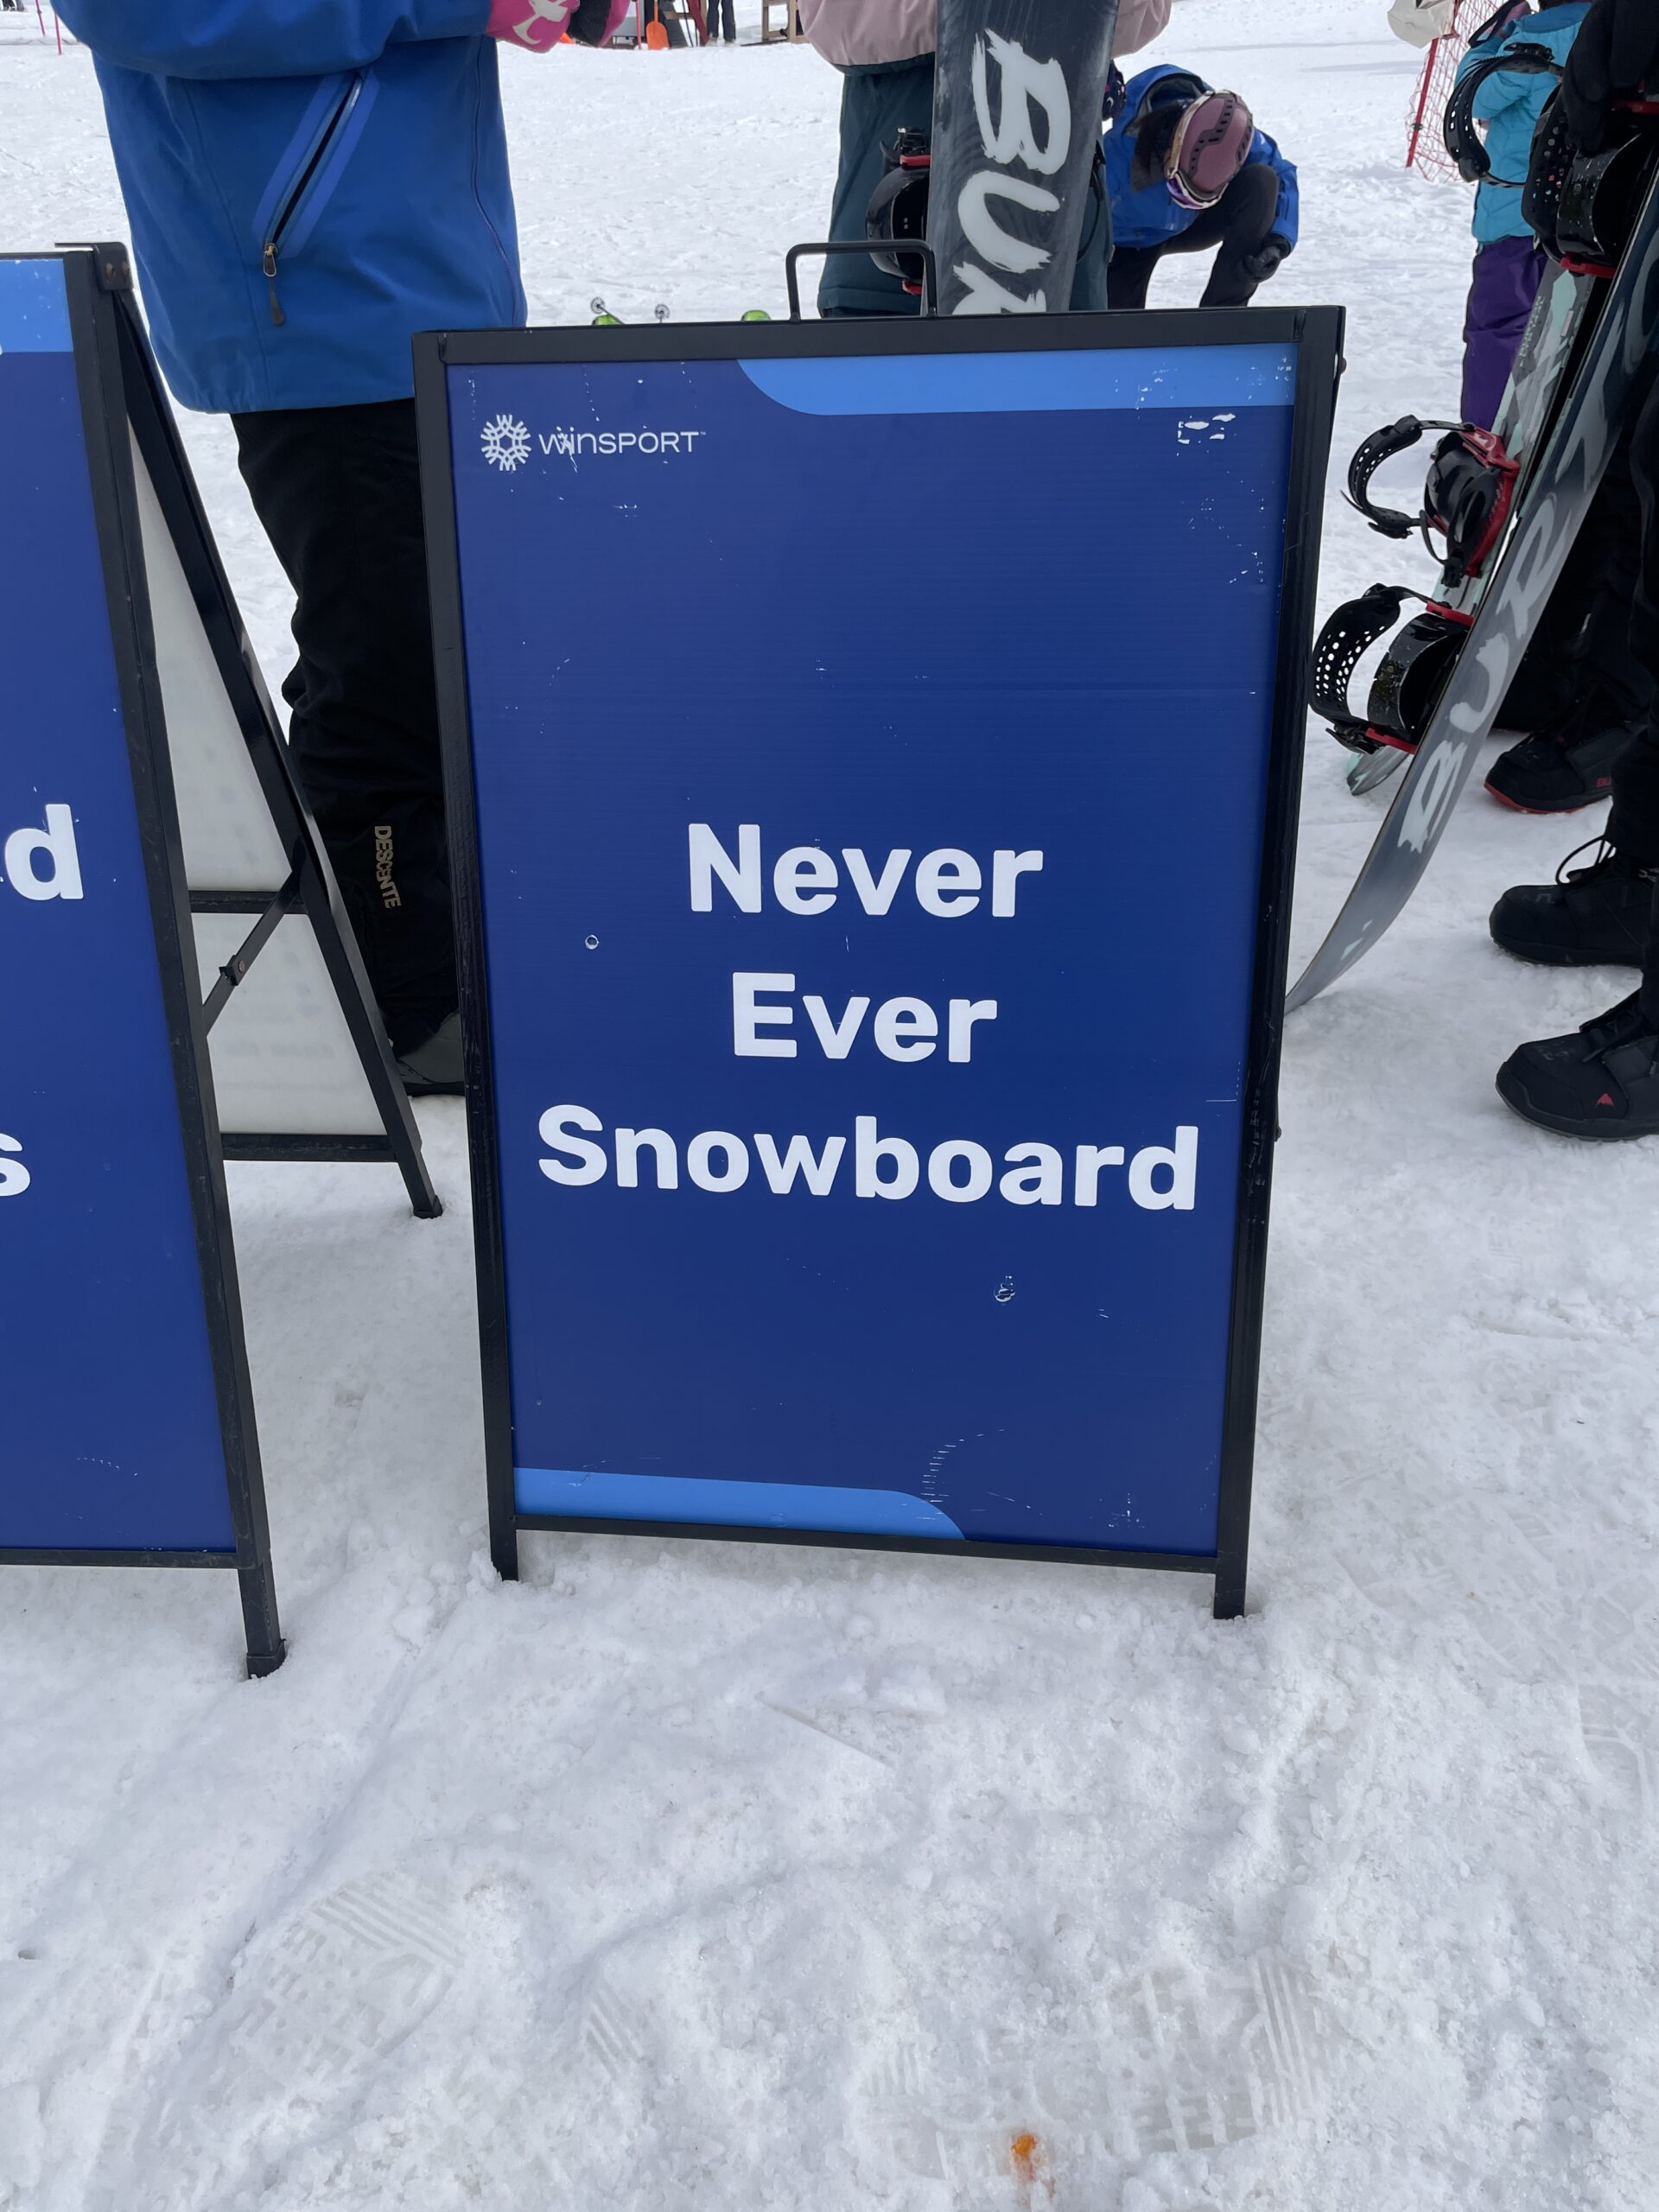
We took two different snowboarding classes at WinSport: the Never Ever Snowboard class and the Adult Beginner 1 class.
The Never Ever class is perfect for absolute beginners, like us, who have never snowboarded before. It’s a one-day class that lasts 90 minutes, and it includes rental equipment. After that, we moved on to the Adult Beginner 1 class, which is a three-day program designed to help you ride on your own by the end.
If you want to head straight to our class review, jump right in here.
The Never Ever Snowboard Class
We began with the Never Ever Snowboard class. These classes are divided into groups for youth, adults, and there’s even a 3-day package. It’s perfect for absolute beginners who’ve never tried snowboarding before. The great thing about this class is that it’s heavily discounted, and it already includes a snowboard, snowboard boots, a helmet, and a hill pass in the package.
We took the 1-day Never Ever Snowboard class for adults, which lasted about 90 minutes. During the session, we learned the basics of snowboarding, including identifying the parts of the board, how to handle it, and how to strap it on. We also learned how to identify our front foot by determining our dominant foot first.
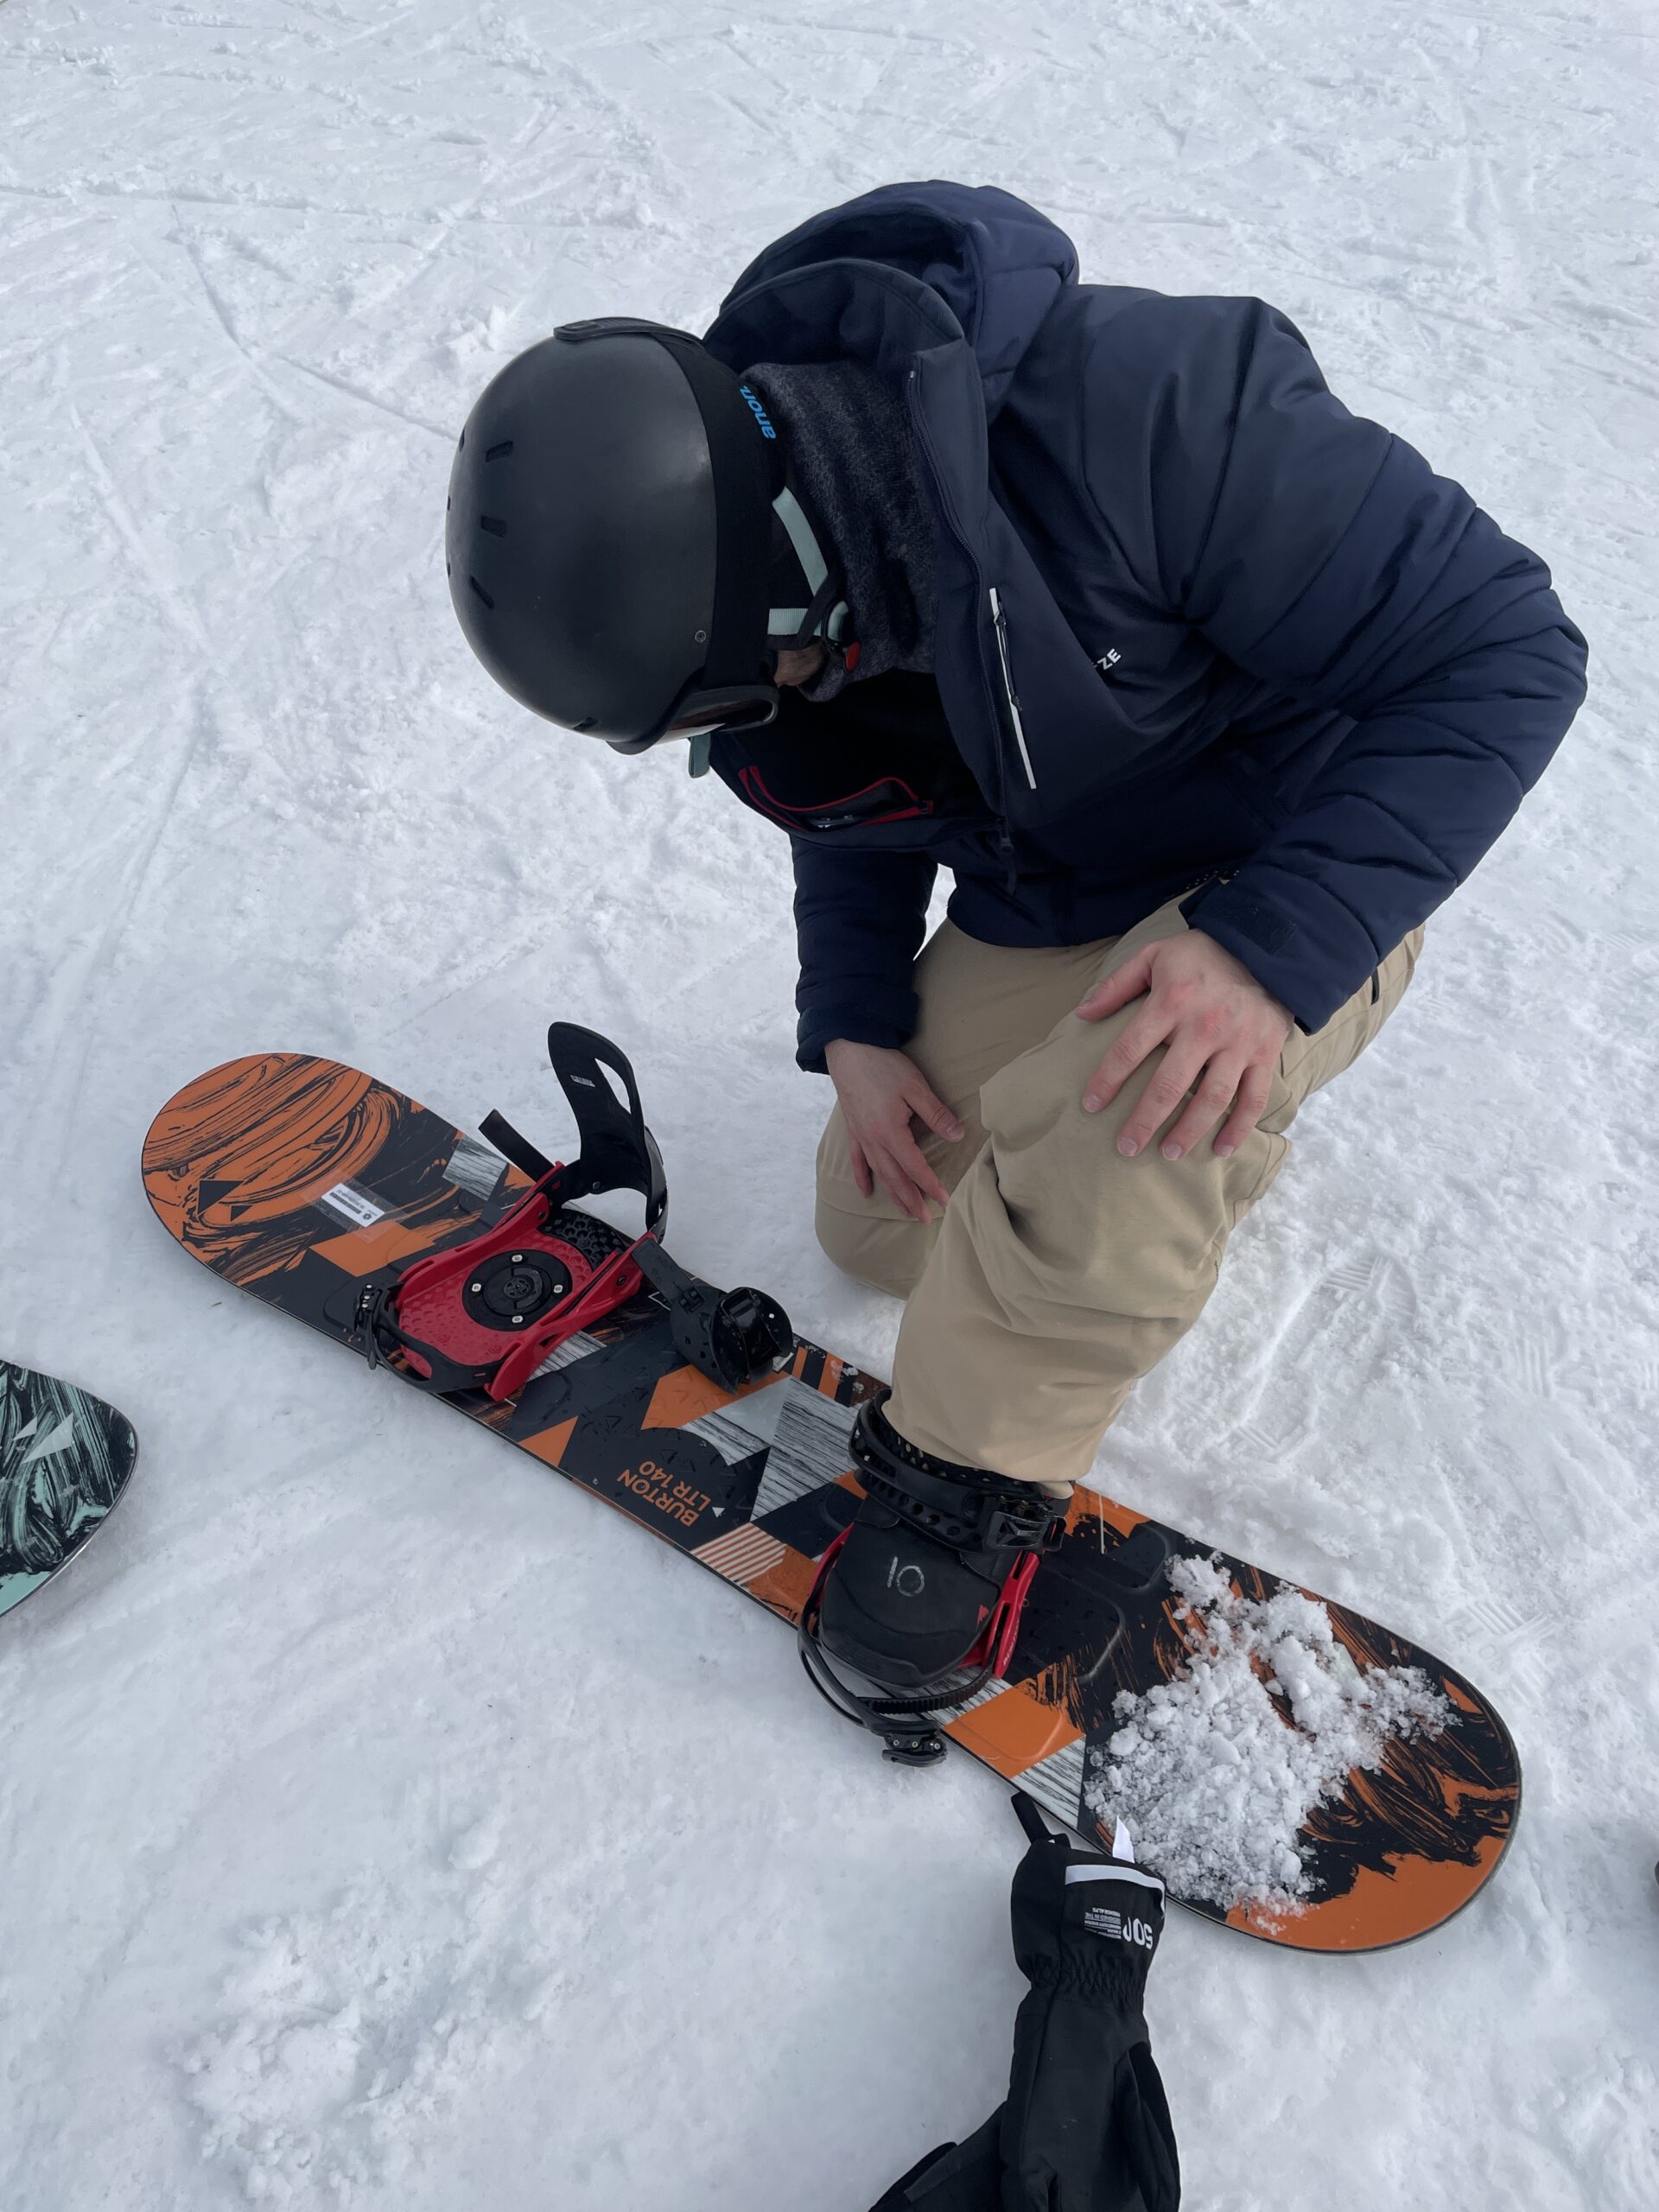
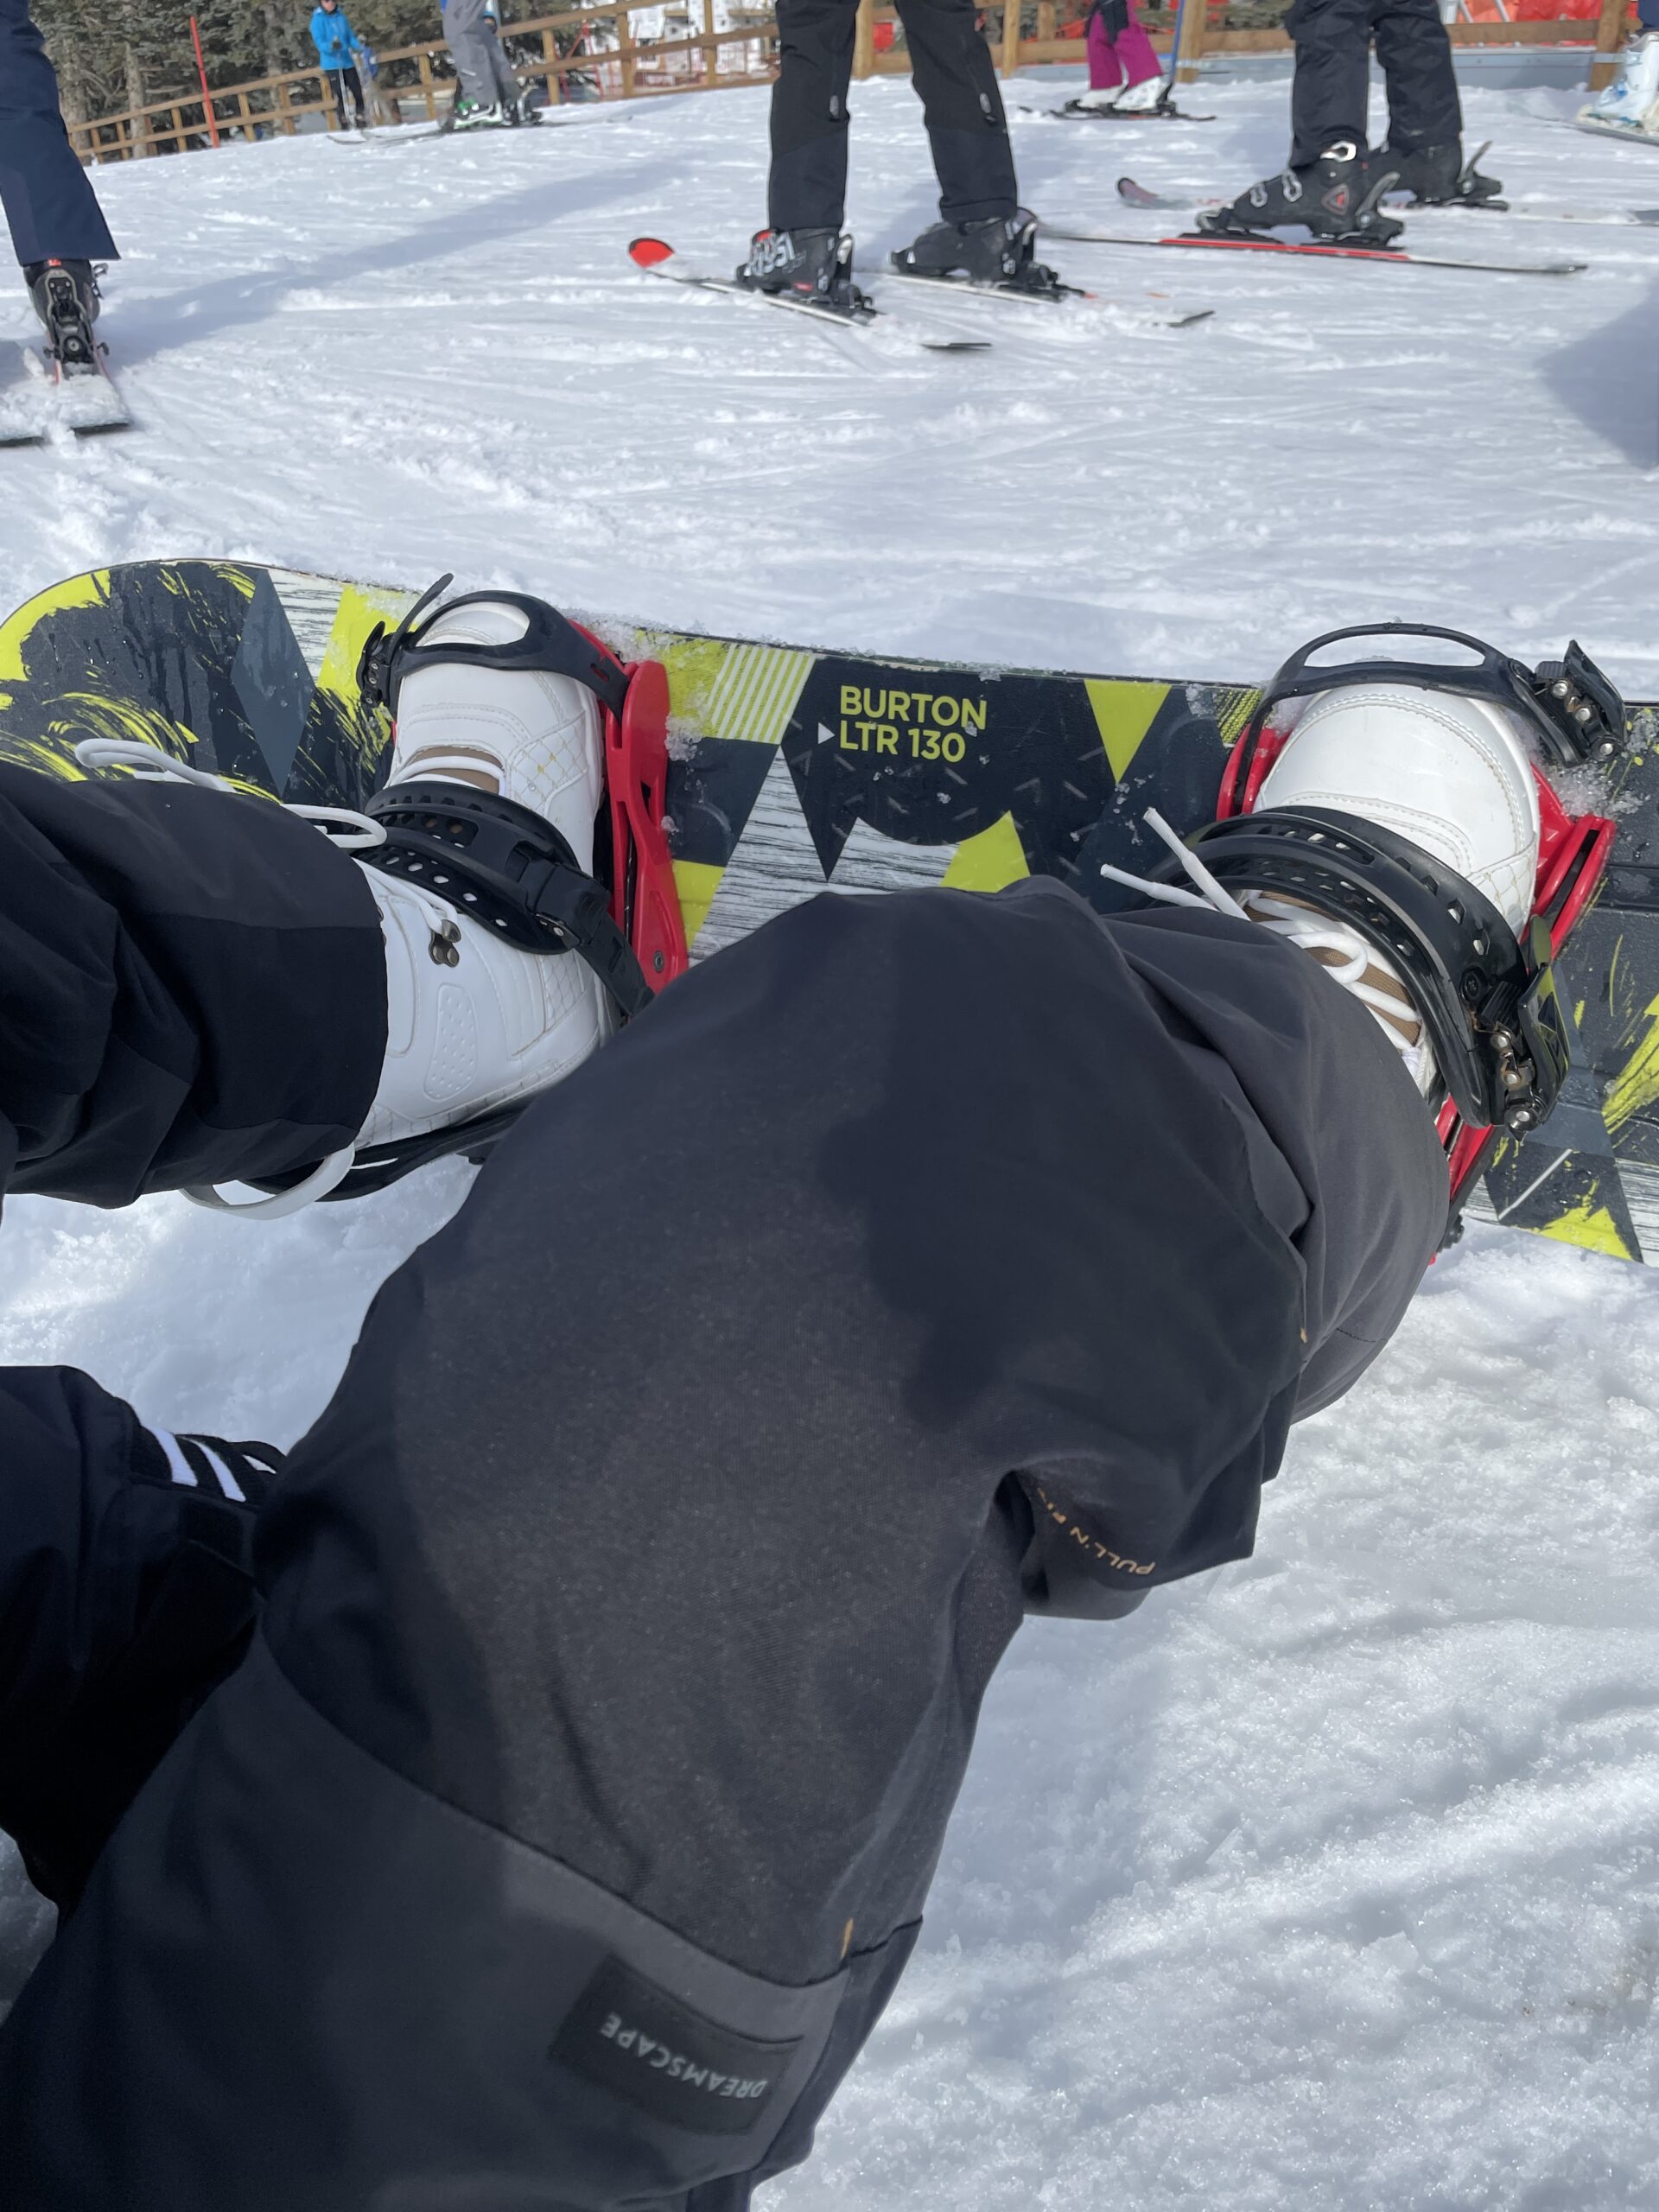
Before heading to the class, we took some time to figure out our dominant foot. We did this by sliding with our socks on and identifying which foot we naturally used to stop. To do this, we slid with our socks on and noted which foot we used to stop. In snowboarding, you use the opposite foot of your dominant foot as your front foot.
Also we were introduced to the edges of the board: the heel edge and the toe edge. We also We were introduced to the edges of the snowboard: the heel edge and the toe edge. Our instructor taught us the proper form for both edges and how to stop correctly using each one. To get our legs ready, we did warm-up exercises for each edge. After feeling pretty warmed up, we gave it a shot on a small slope, practicing both edges over a short distance.
We also learned some balancing exercises on the board to help us distribute our weight evenly. Our instructor taught us to extend our hand in the direction we wanted to go, which helps with steering and maintaining balance on the board.
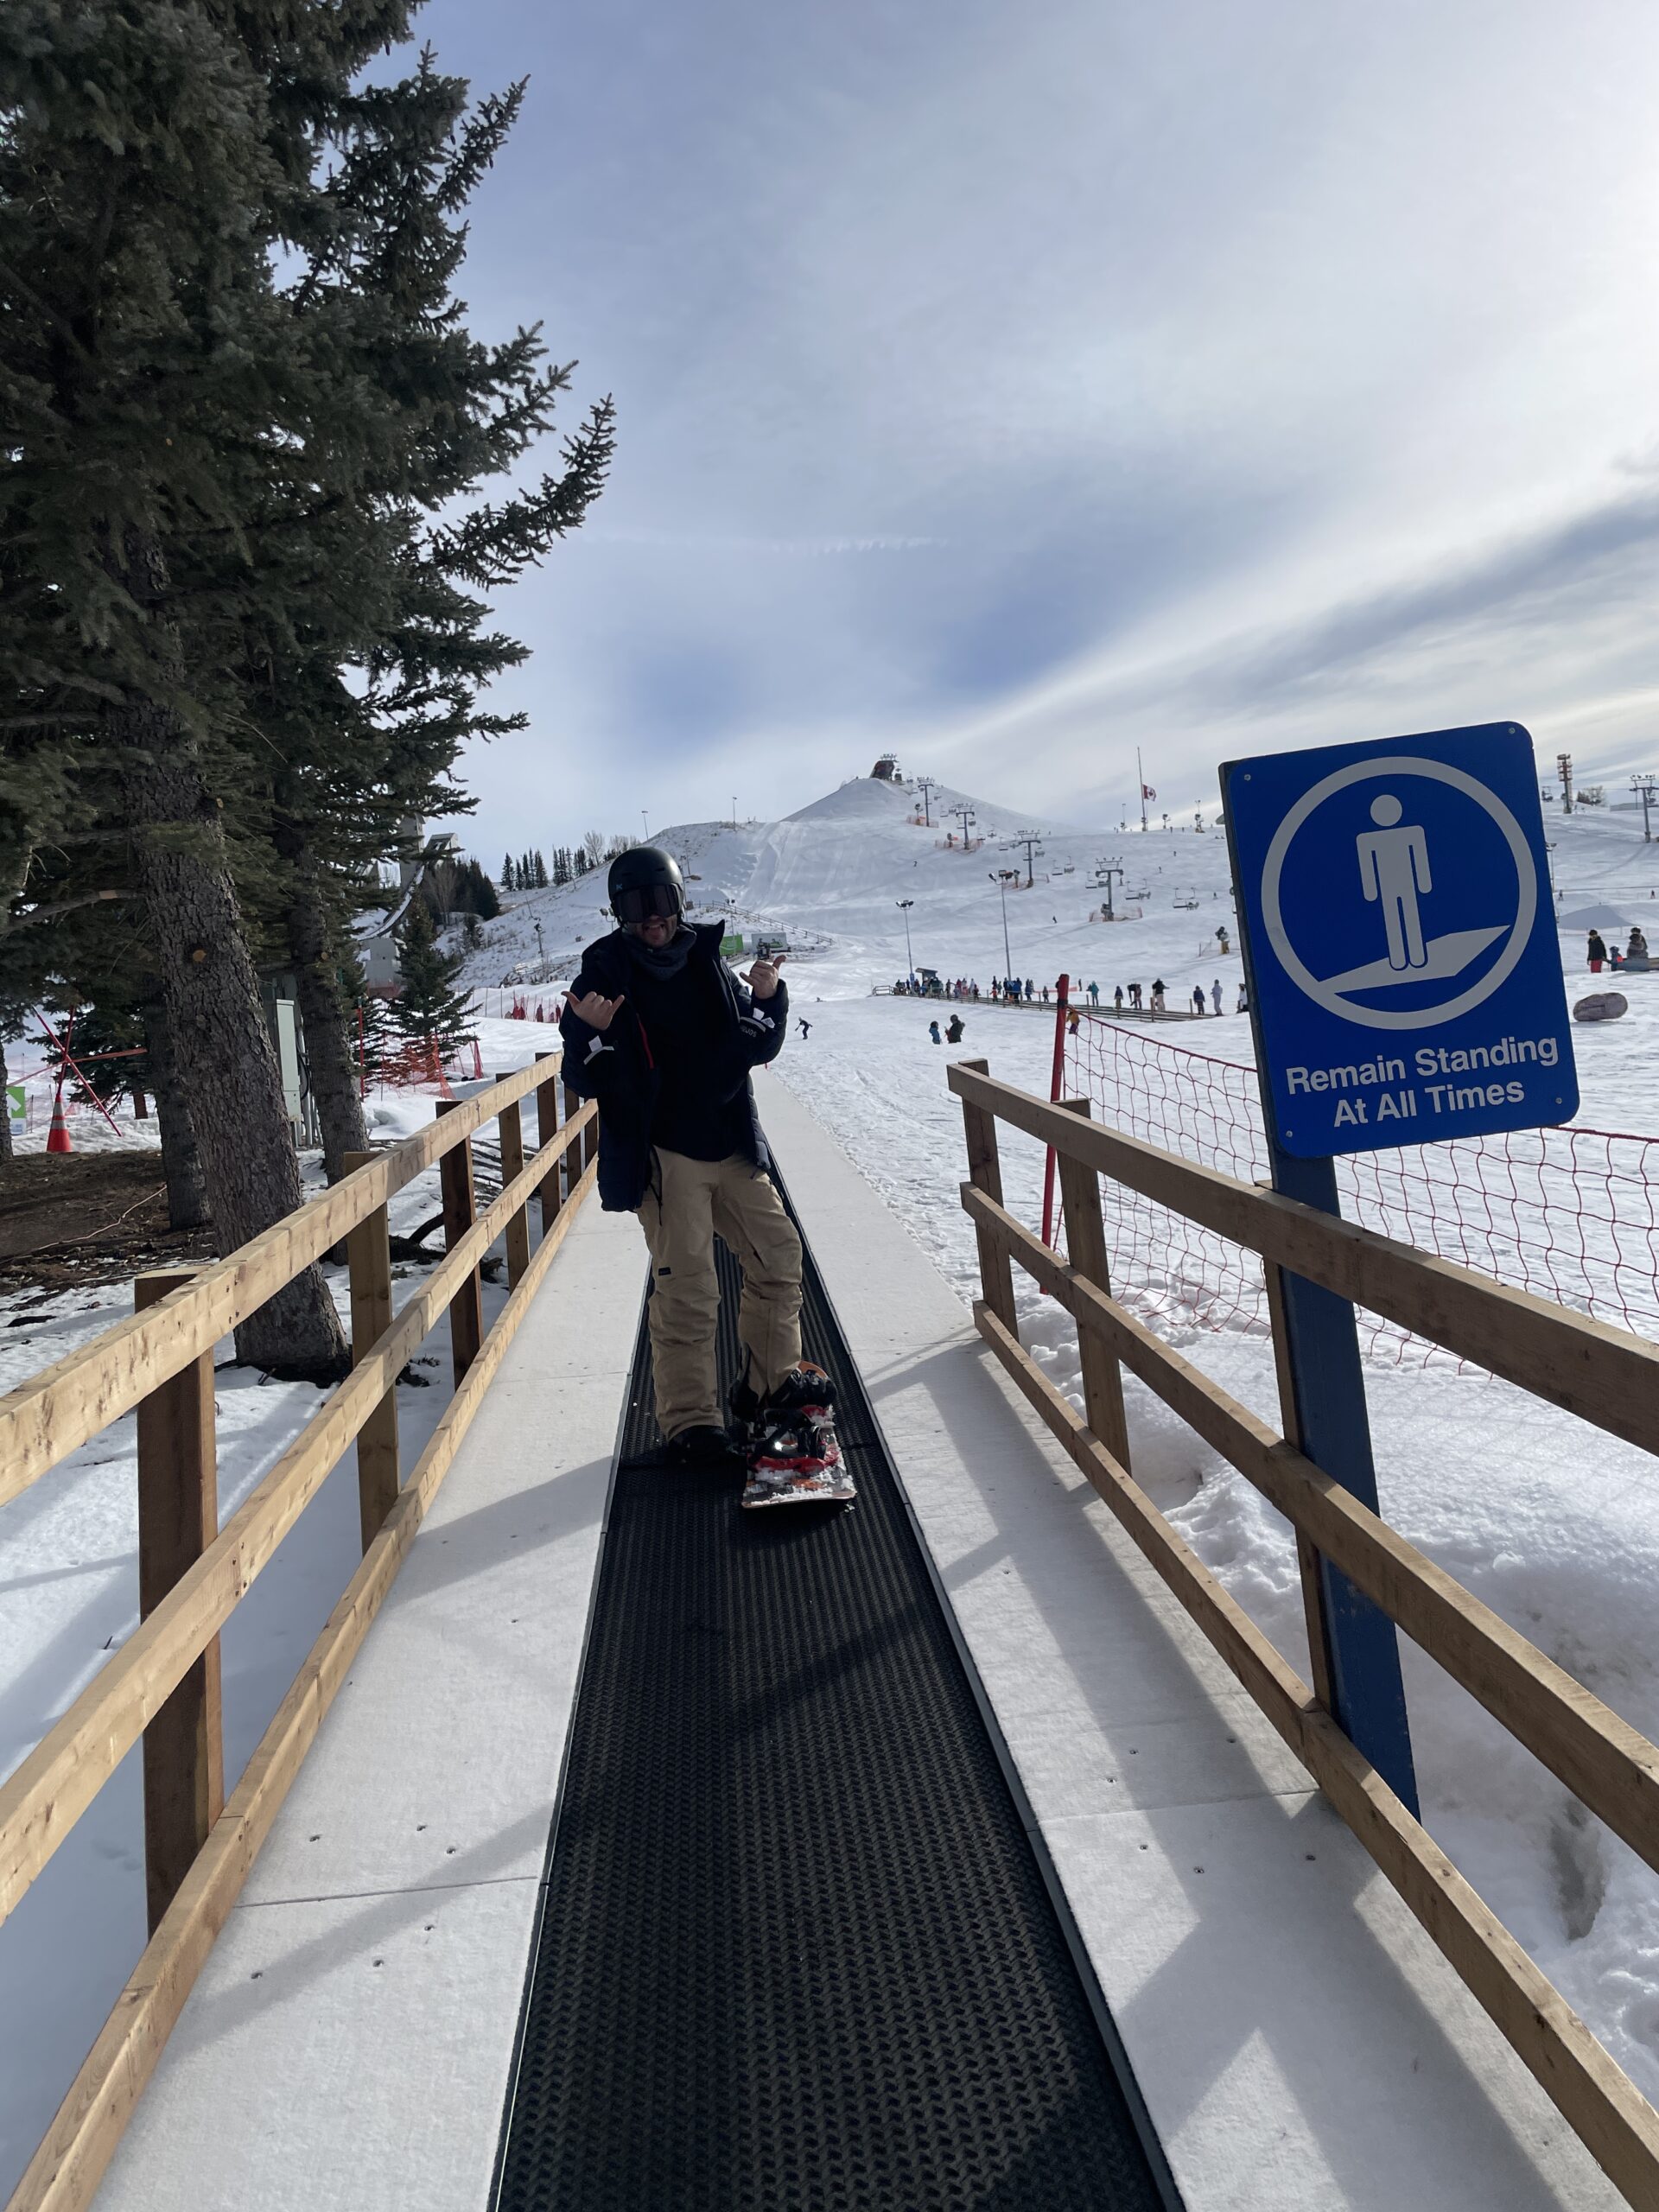
Part of our lesson was riding the magic carpet. We were both pretty nervous at first, but it turned out to be surprisingly easy. You only need to strap in your leading foot, while your non-strapped foot (dominant foot) stays behind your board. As you near the end of the magic carpet, hop onto your non-strapped foot back to your board while keeping a slight bend in your knee, and you’ll slide out pretty smoothly from the carpet.
By the end of the Never Ever Snowboarding class, we had familiarized ourselves with the fundamentals of snowboarding. We could confidently navigate the magic carpet, getting in and out smoothly, and even tackled the silver hill at WinSport.We were also able to progress to the next level of snowboarding lessons, the Adult Beginner Course 1.
The Adult Beginner 1 Course
We jumped into the Adult Beginner 1 classes right after finishing our Never Ever class. Our confidence was still pretty high from the first lesson. We expected this next class to be similar, but with more focus on mastering the edges so we could ride confidently on our own.
Our Adult Beginner Class 1 is a three-day program, with each session lasting 2 hours. These classes are designed to teach us the basics so we can confidently snowboard on our own. The classes are spread out over three weeks. The cost is $345 per person, not including equipment. Since we only have the clothing, we decided to rent the board, bindings, and helmet for $89 for the entire course.
Day 1
Day 1 of our snowboarding adventure was all about diving into the fundamentals. Unlike the Never Ever Class where we took it slow, this time around, we really got down to business.
We kicked things off on the silver carpet, which was a step up from our previous course. It was longer and bustling with activity—tons of people, snowboarders, skiers, and even kids showing off their skills. Talk about feeling humbled! Some of those little ones were shredding better than us!
We dove into the nitty-gritty, getting cozy with our edges and learning the ropes of turns. Heel edge, toe edge, you name it. Stopping was a whole ordeal, and finding our balance without flailing our arms around was a challenge in itself. We tackled J turns, C turns, and the almighty S turns where we finally started connecting the edges.
But man, was it tough! We ate snow more times than we could count, and at some point, we were seriously questioning our life choices. Those two hours felt like an eternity, especially with the icy conditions making every fall a bit more painful.
Day 2
We started the day practicing our turns, focusing on linking them into smooth S turns. Balancing and controlling the width of our turns was key. We also got more comfortable with our speed, which was both exhilarating and nerve-wracking.
Day 2 was a whole new ball game with fresh powder! The extra traction between our boards and the snow made the ride feel different – more controlled, but also more intense. The weather was freezing, so we layered up with thermals. We really wished we had face coverings, like a balaclava, because our faces were freezing as we zoomed down the slopes!
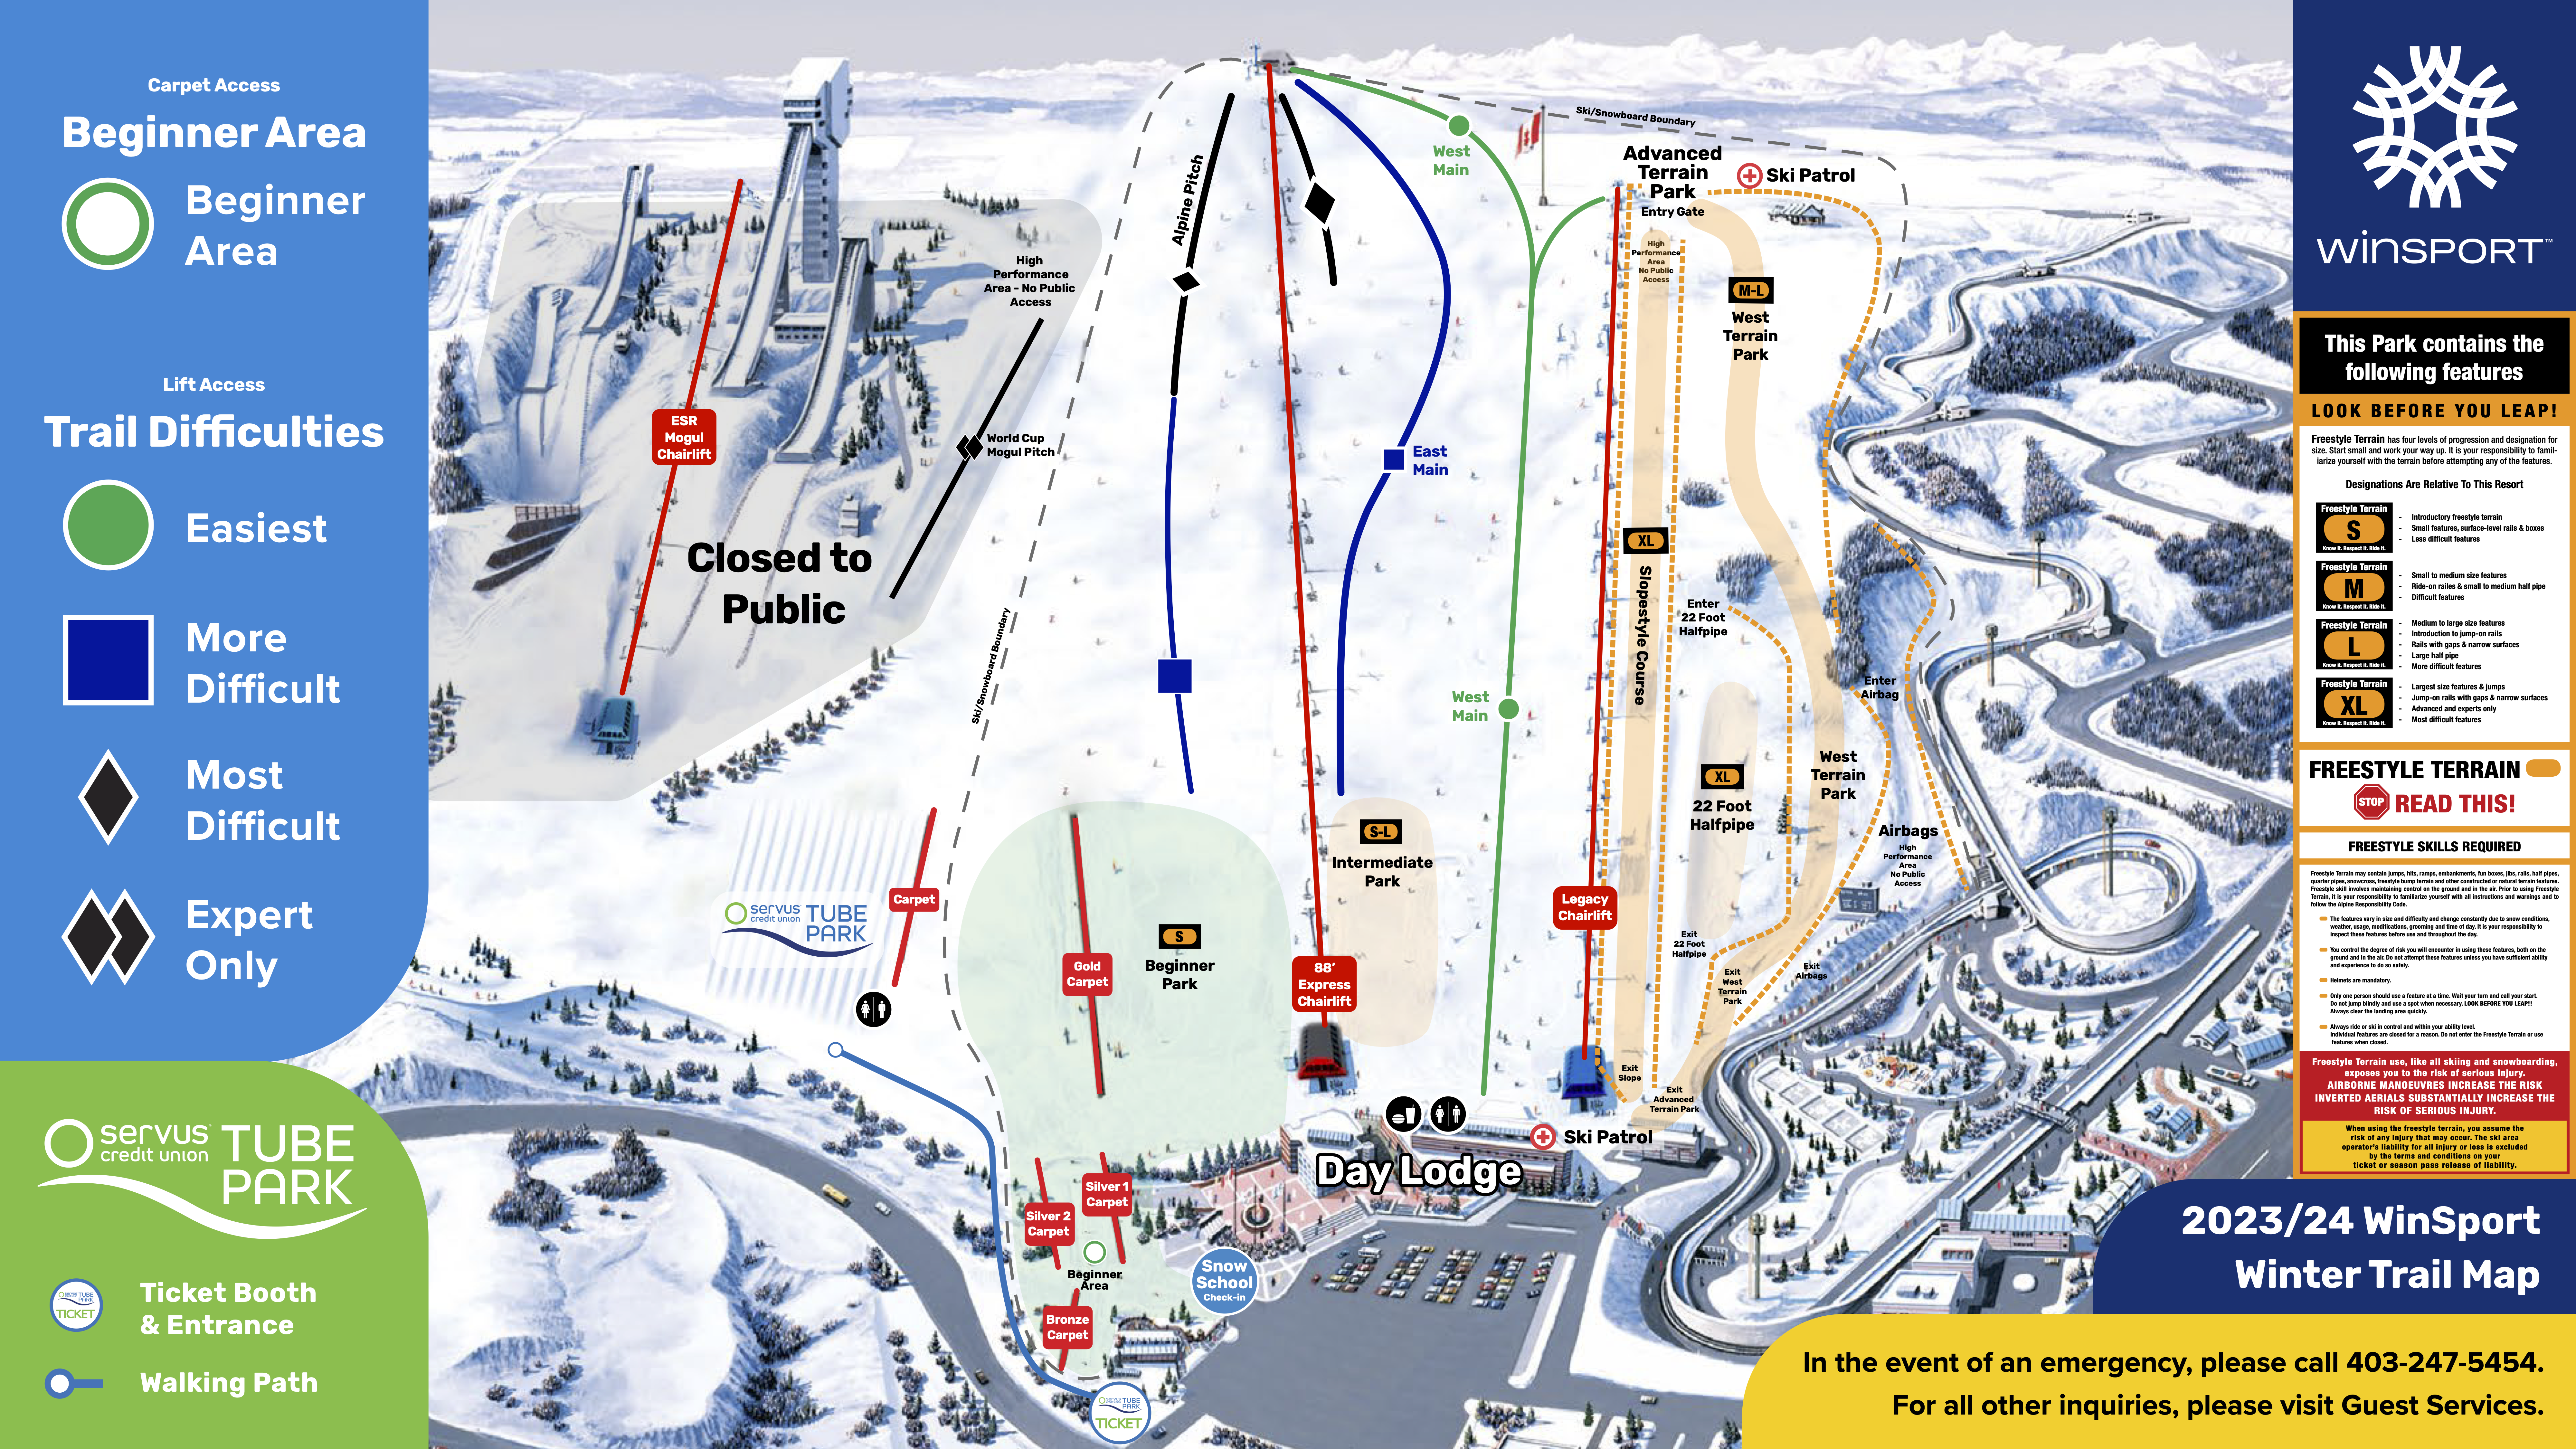
The big upgrade of the day was moving from the silver carpet to the gold carpet. The gold carpet has a steeper slope, meaning longer rides before reaching the bottom. Balancing was tricky; we kept leaning to one side and getting pulled towards the edge. There’s so much to think about – switching edges, balancing, leading with the front foot – it was a lot to juggle!
Then came the chairlift experience. It was nerve-wracking, especially with seasoned pros all around us. The height was intimidating, and getting off the chairlift was its own challenge. But the view from the top of the Legacy Chairlift was stunning – you could see all the way to Calgary! We wanted to stay up there, but we had to head down the slope. The descent was daunting because we couldn’t see the end of the slope.
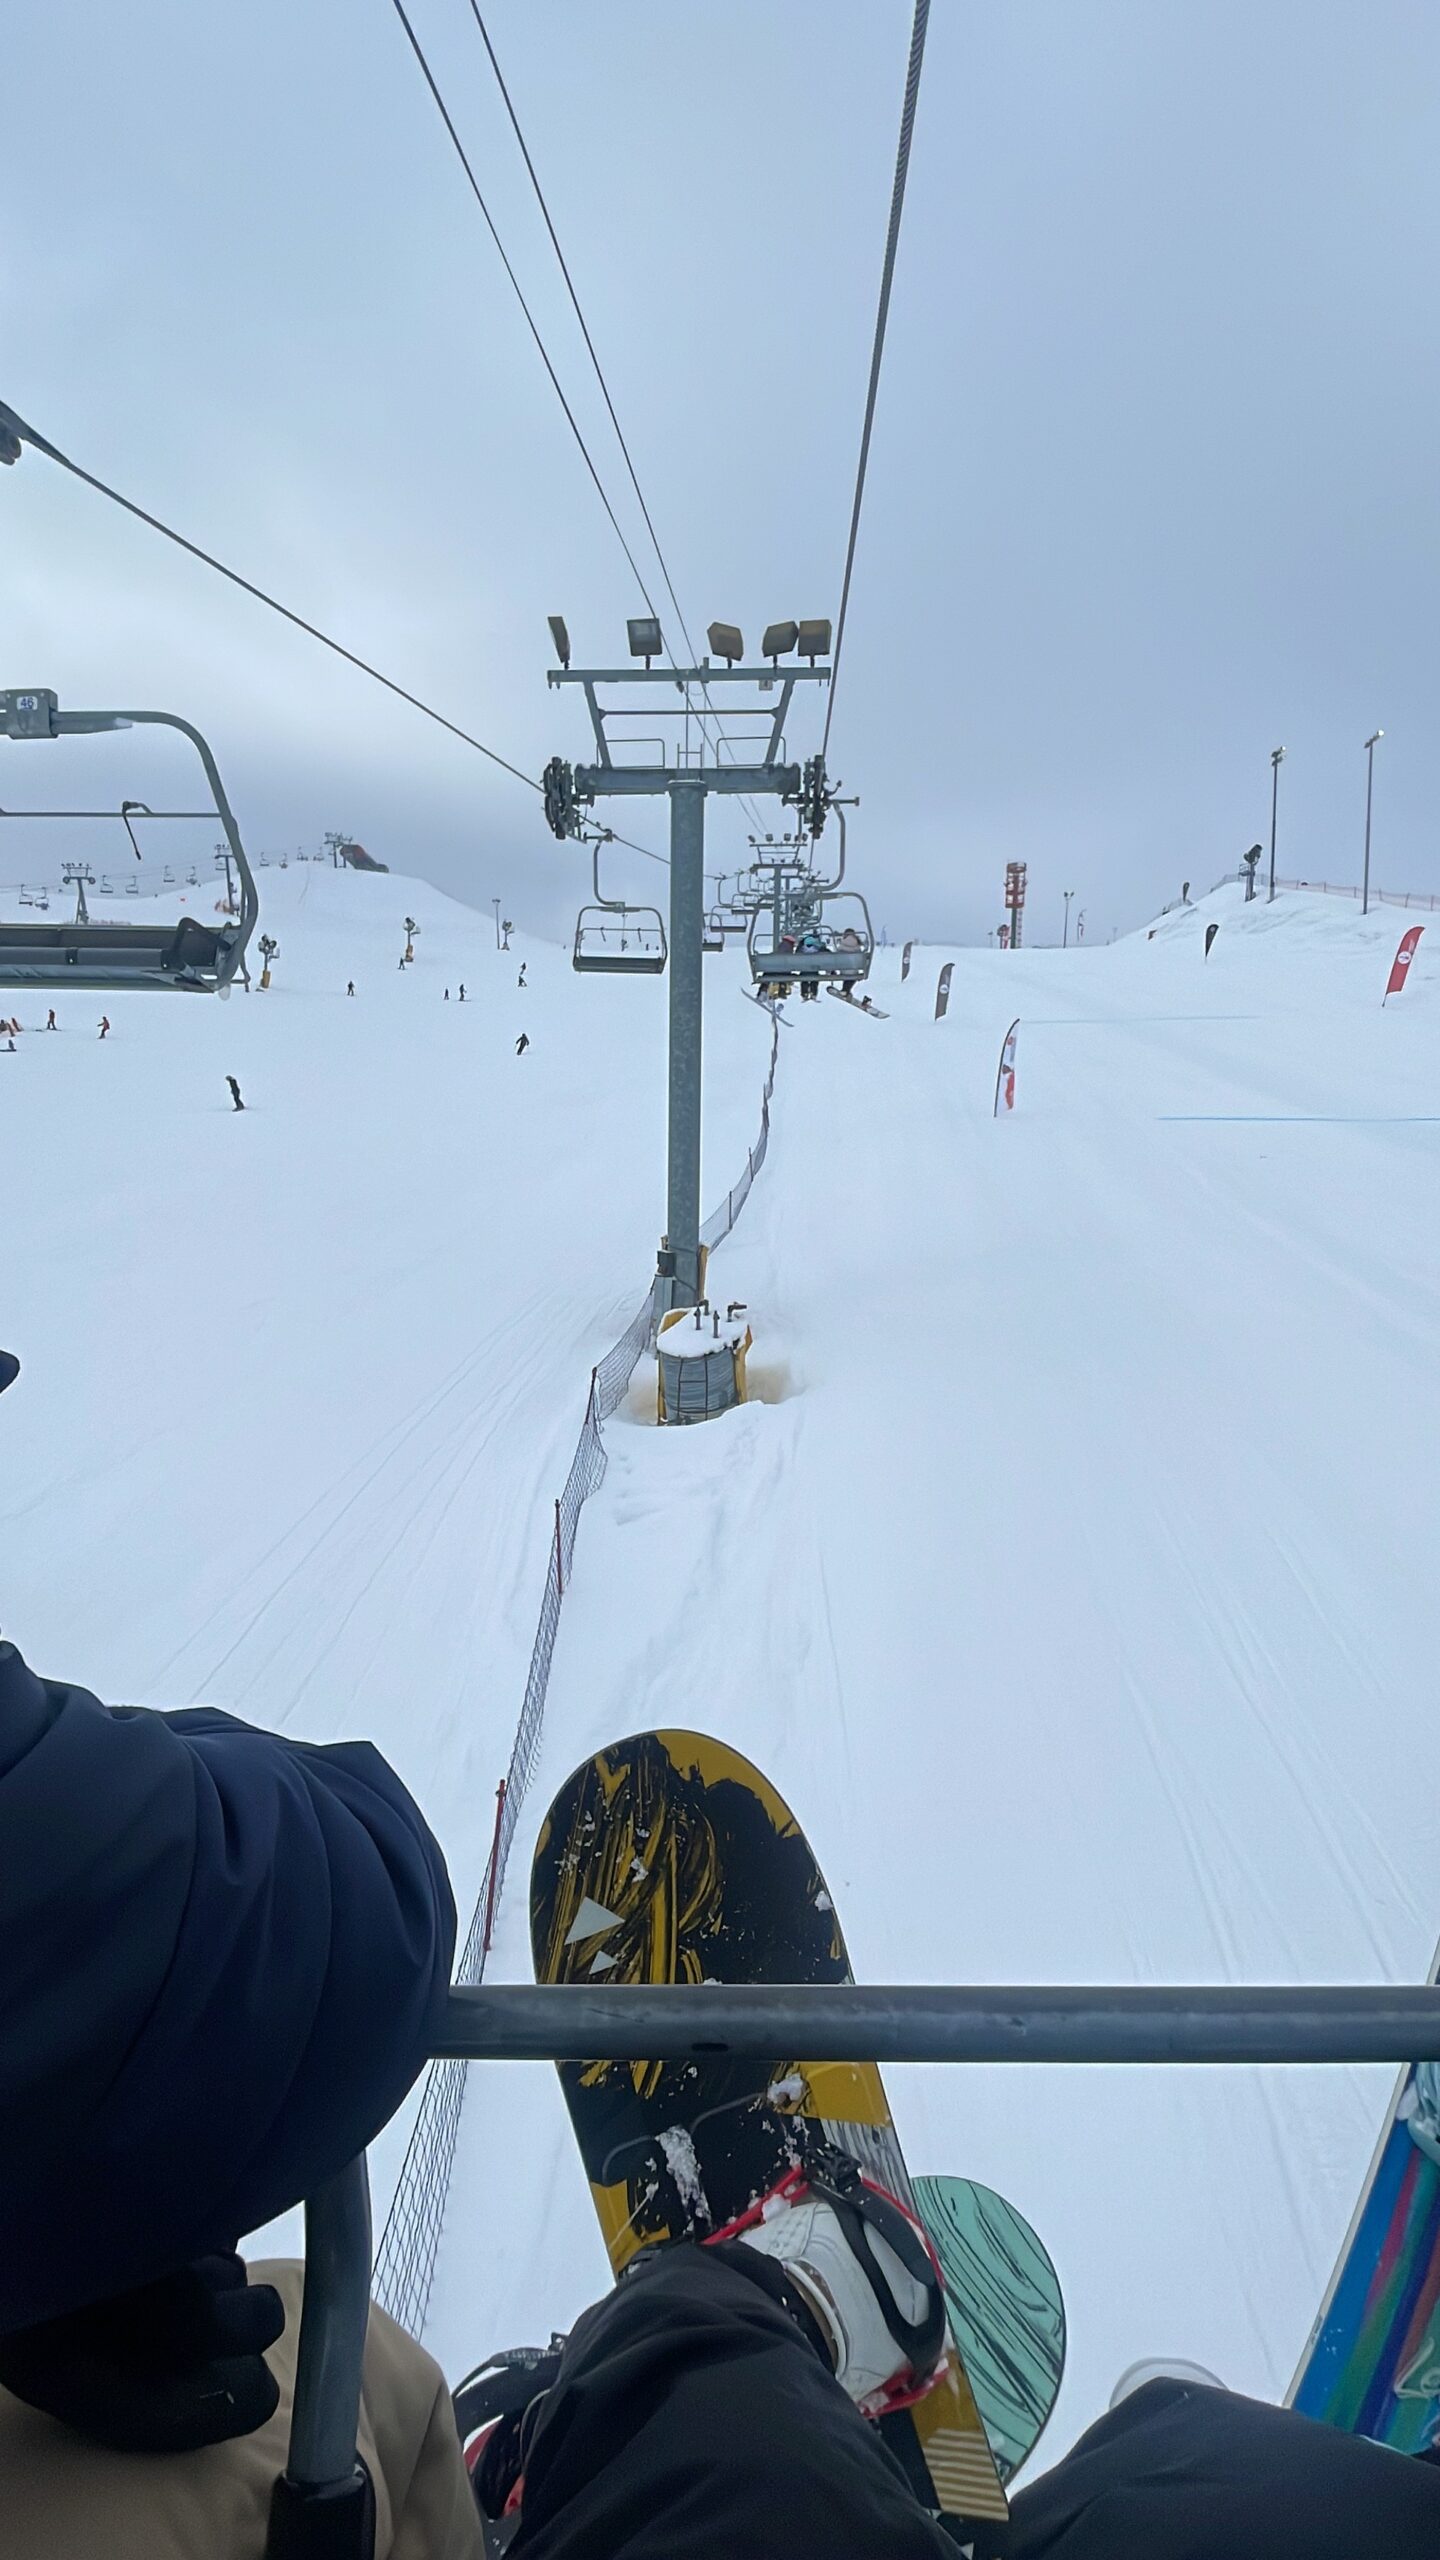
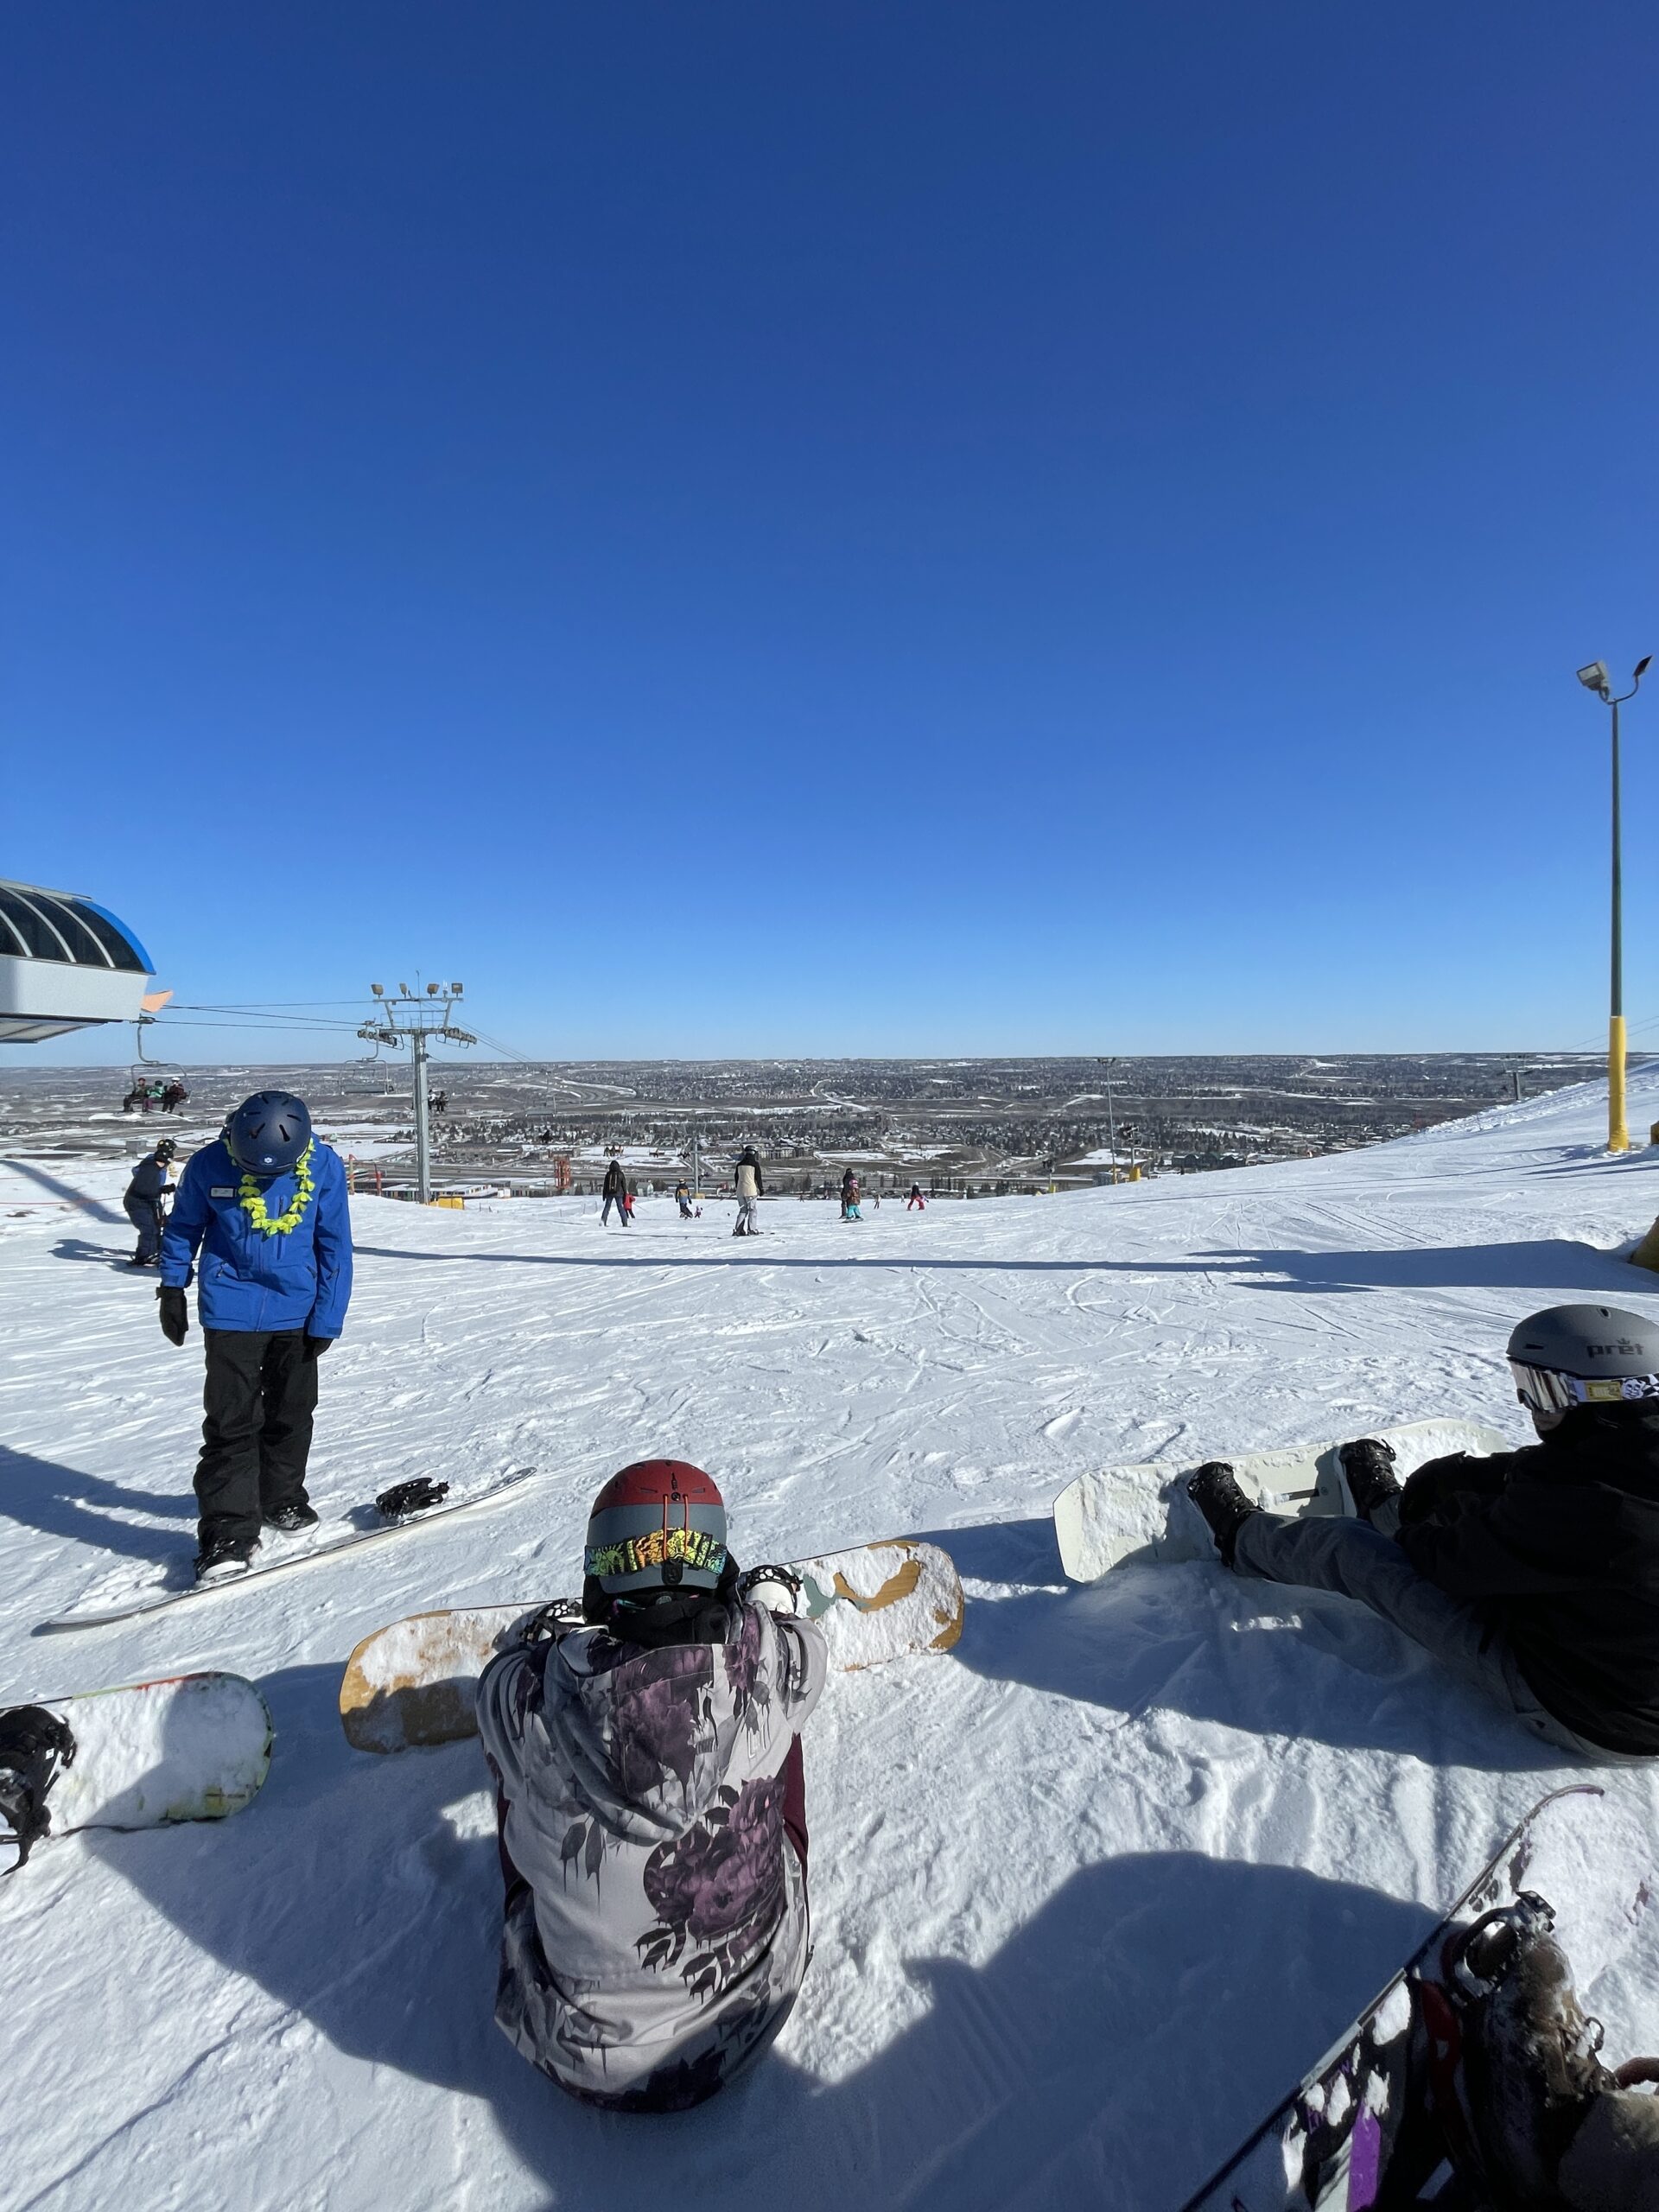
We tackled West Main, an easy trail, but it was still a challenge. We were unfamiliar with the trail and still scared of falling, so we wiped out a lot. The longer trail was a whole new level of difficulty compared to the carpets. Something scary happened to Eartha on one of her turns. She caught an edge on her toe edge, flopped on her back, and hit her head. Thankfully, she was wearing a helmet, which softened the blow. After that, she took a break for a round to recover.
Needless to say, this day was packed with absolute struggles. We drastically leveled up from the magic carpet to the chairlift, tackling new terrain and riding in different weather conditions. We fell a lot, but the silver lining was that the fresh powder made the ground softer.
It was challenging, and we were so tired, but we are proud of ourselves for making it through.
Day 3
On Day 3, we skipped the warm-up and went straight for the chairlift. Despite still feeling a bit jittery from our last class, we were determined to make this one count. We mentally psyched ourselves up, promising to eat less snow and ride more. And guess what? The weather was on our side – bright and beautiful, almost like it was saying, “You got this!”
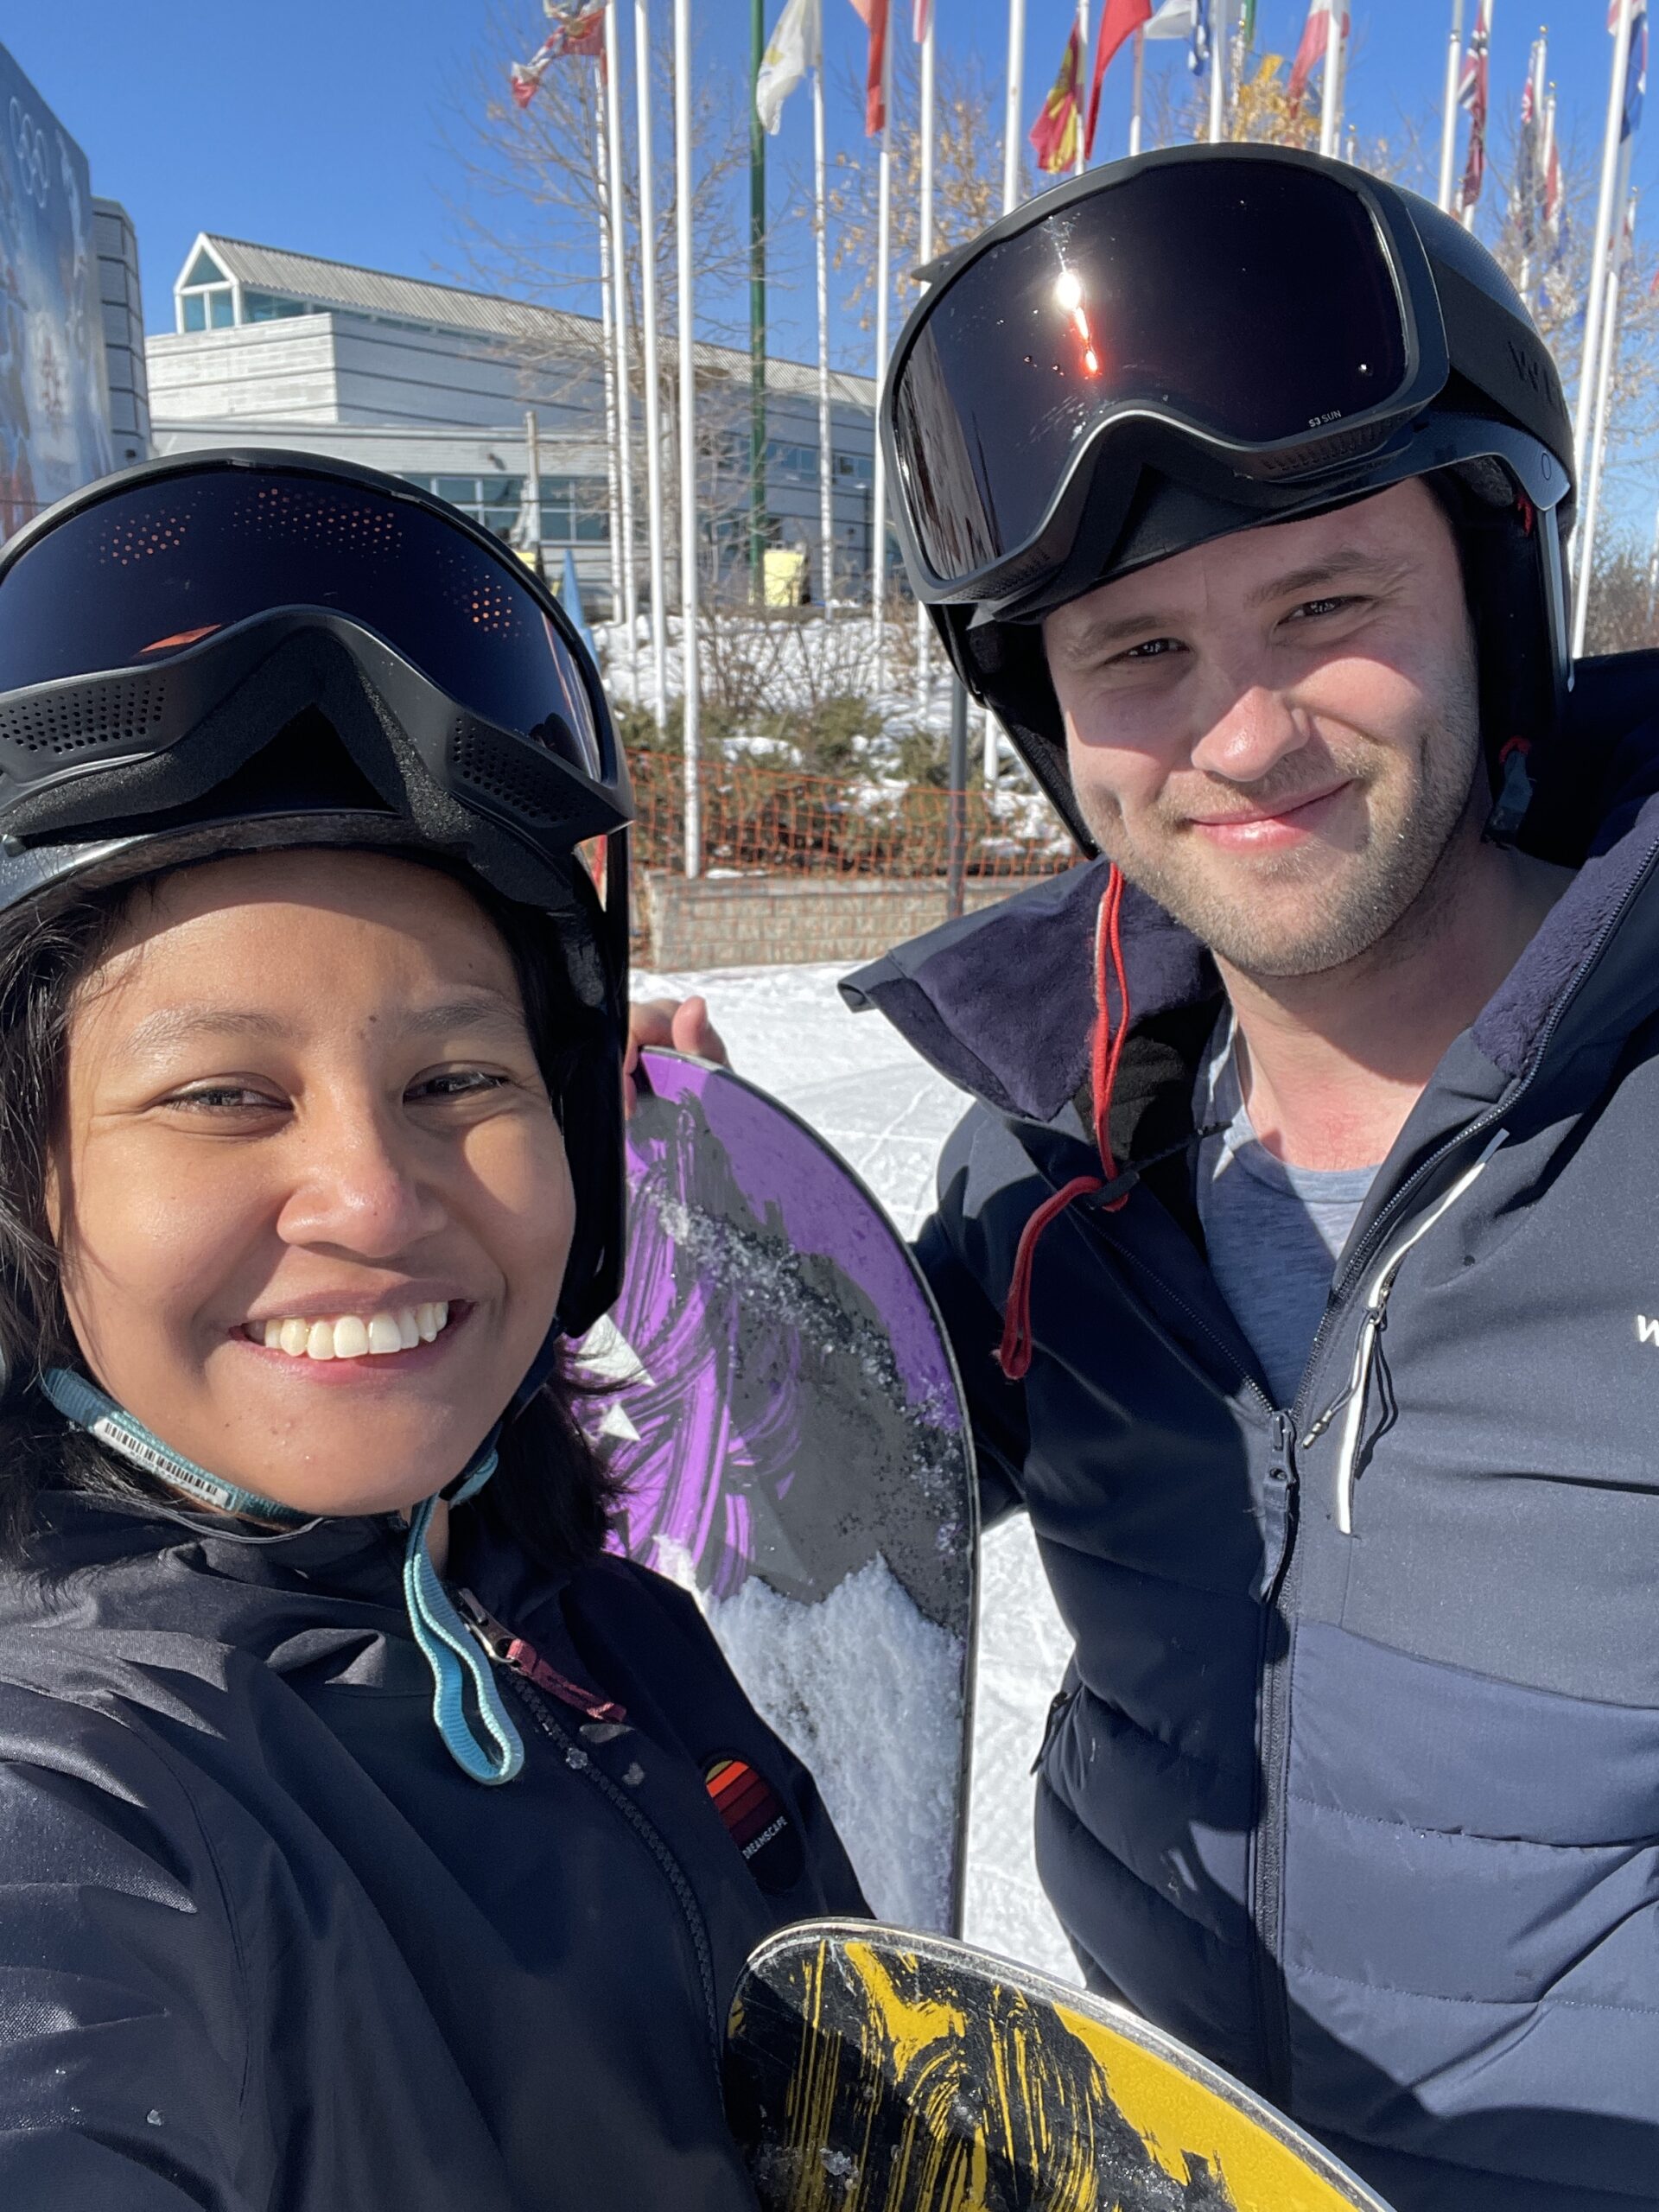
Taking lessons from our Day 2 spills, we rode with more smarts and finesse on Day 3. We definitely looked and felt more polished, nailing our turns and stops like pros. We felt way more comfortable and ready to take on the slopes this time around.
Day 3 was all about finding our chill. Our instructor kept reminding us that the board is just an extension of our feet, urging us to relax and stay loose. No awkward bum sticking out – apparently, that’s a no-go in the snowboarding world!
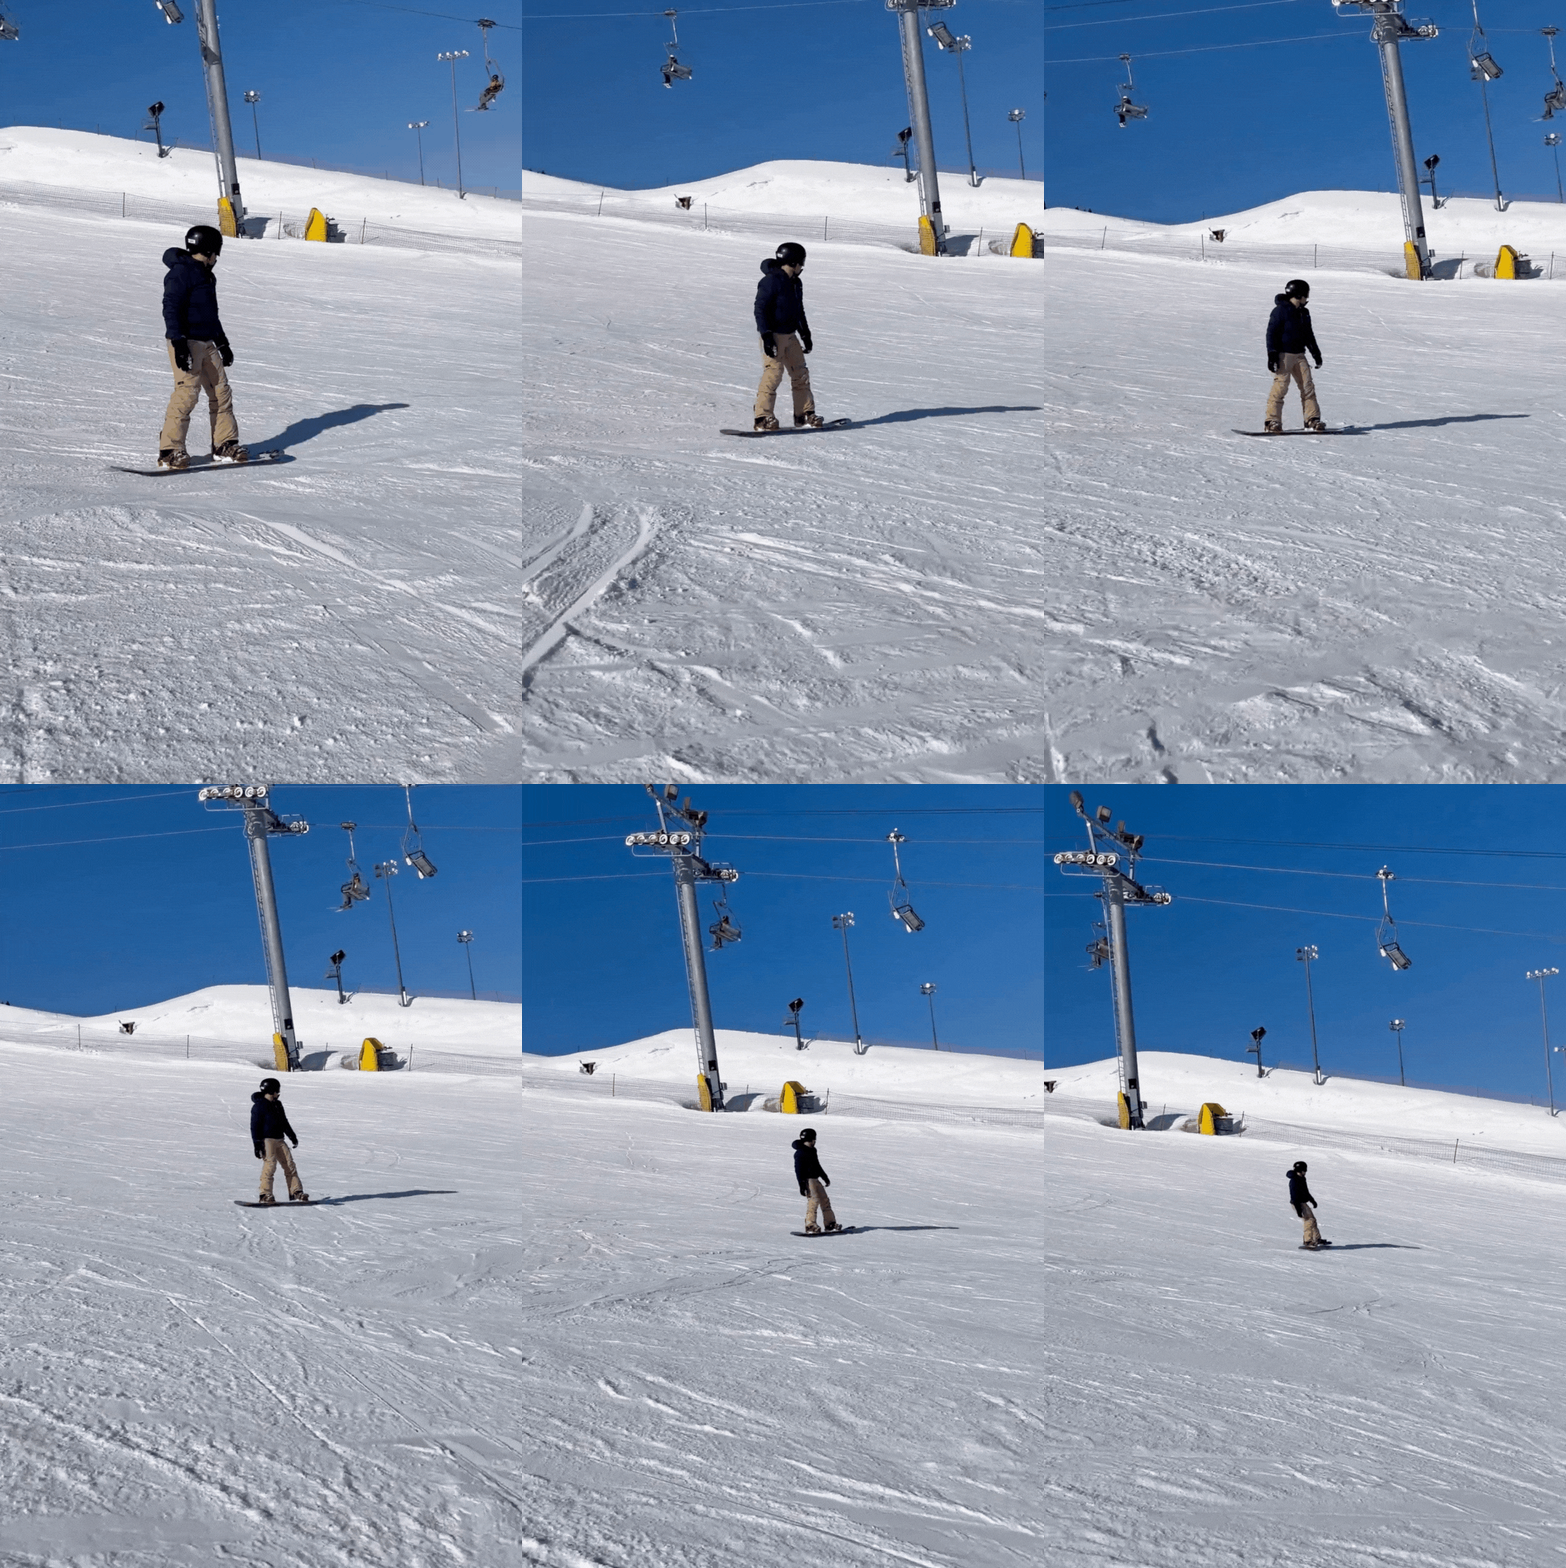
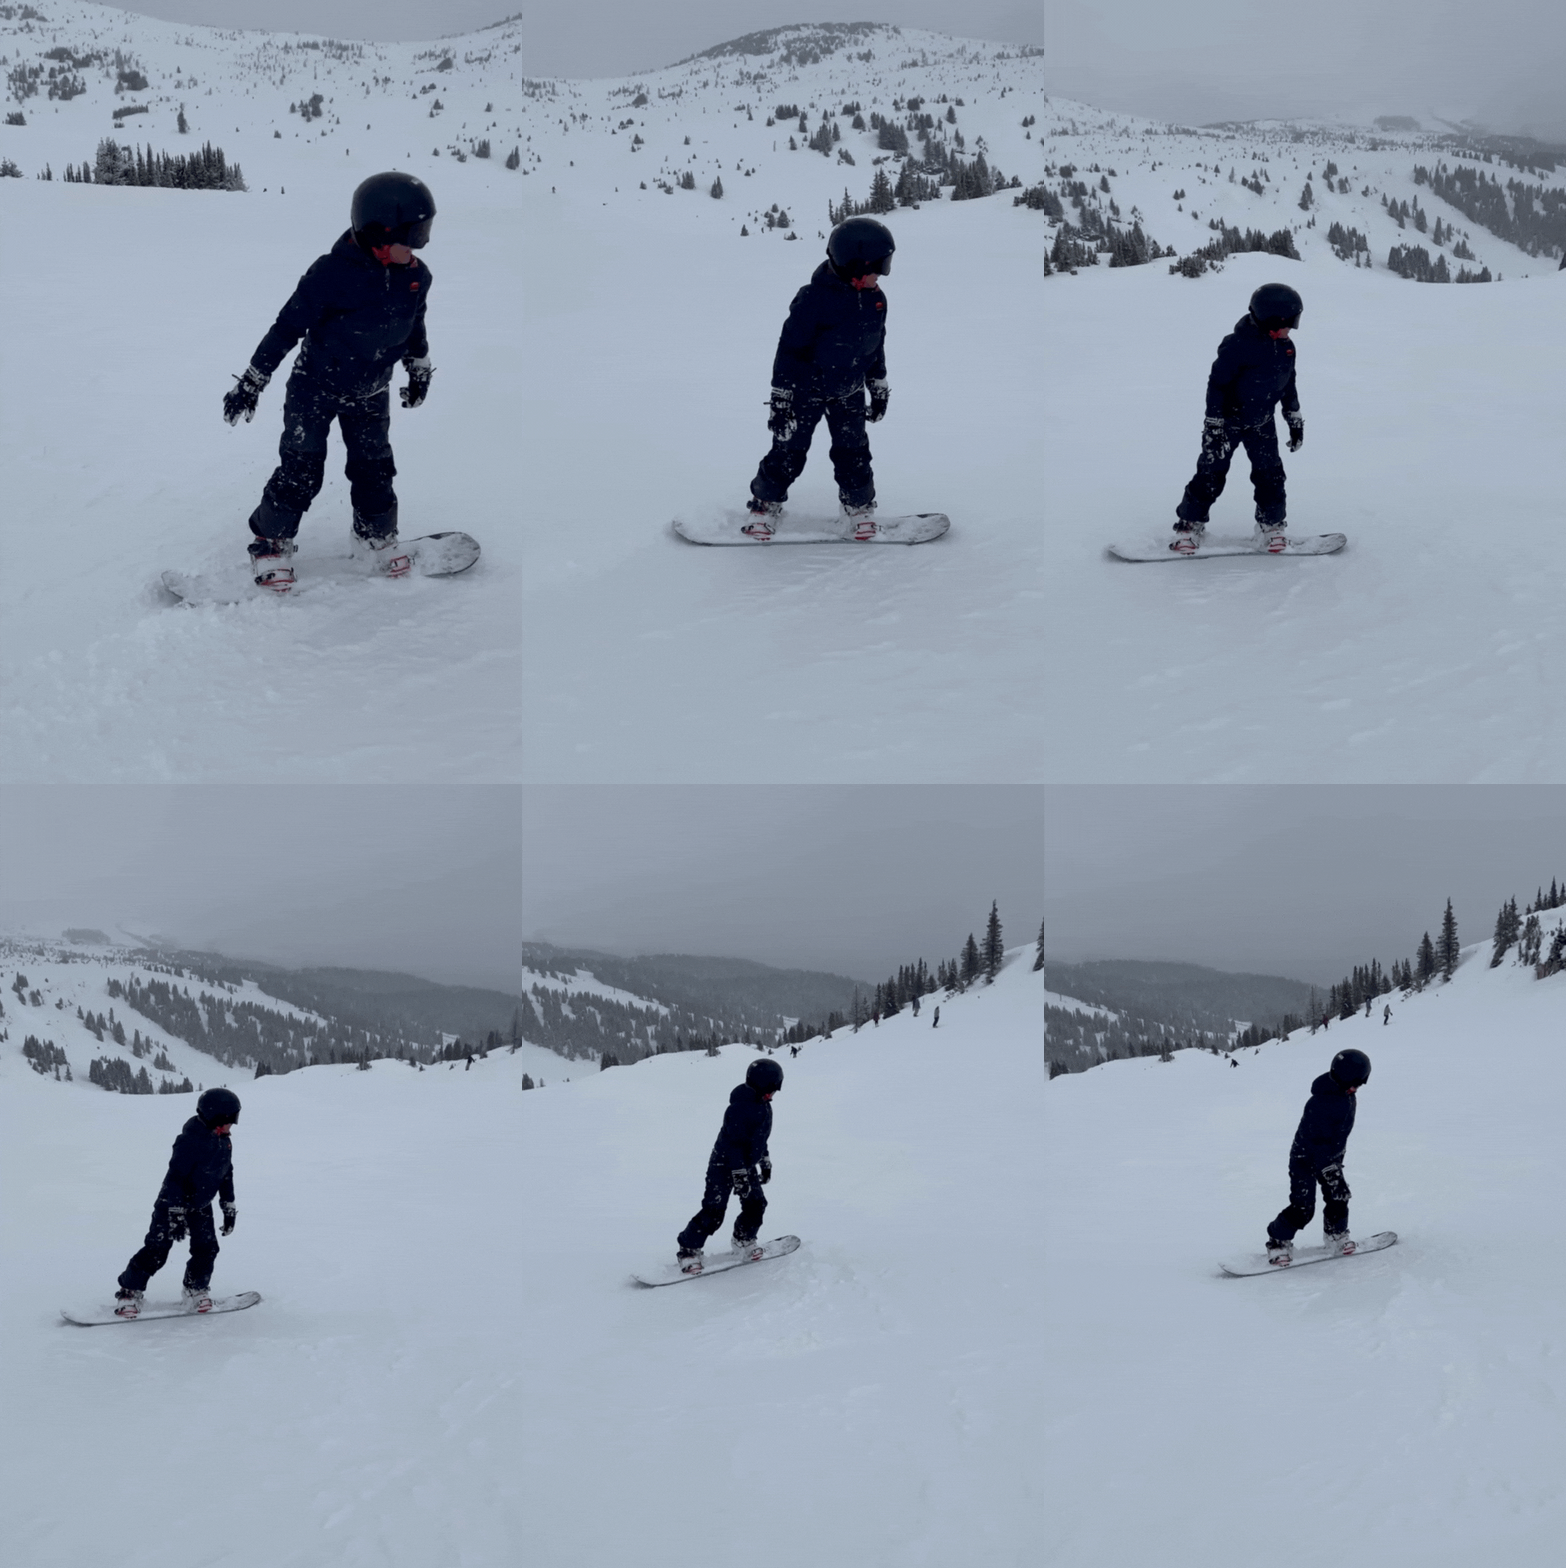
Sure, we still took a tumble or two in the first half of the class, but each fall felt like a lesson learned. As we made our way up the slope, the falls became less frequent. And by the end of the session, we were linking our turns like pros, gliding past other riders, and even picking up a few tricks. Nick even pulled off a slick 360-degree turn – talk about progress!
Lucky for us, one of our classmates had the brilliant idea to ask our instructors to take a video. It was such a proud moment seeing ourselves in action! And here’s the proof that we really did learn a thing or two from our classes at WinSport. Keep an eye out for Nick’s impressive 360-degree turn at the end!
Here’s what we think on the classes
Overall, we learned a lot from the classes and highly recommend them, especially if it’s your first time snowboarding. Here’s our review:
Booking a class
Booking the classes was super easy. We just contacted WinSport, and their helpful reps told us all about the program. We found it best to give them a call or visit the facility in person since there wasn’t a long hold when we called. The chat on their website wasn’t the best experience for us, though. We didn’t try booking by email, so we can’t speak much about that.
When booking over the phone, you’ll need to share your contact information and credit card details. Everything happens in real time, and before ending the call, the representative makes sure you receive the booking confirmation and waiver forms to fill out. And just like that, you’re enrolled in a class!
Parking situation
Parking can be tough, especially when the facility has a lot of things going on. Parking is free if you manage to find a spot in front of the facility, but if you park close to the arena, it costs $10. When we had our Never Ever class, there was a tournament happening at the same time, making it really hard to find parking. We had to pay for parking and walk all the way to the class area.
We suggest arriving at WinSport at least an hour before your class to allow time for parking, changing, and renting equipment if needed.
Renting an equipment
It’s spacious though, so there’s room for everyone. All the rental stuff is in one spot, so it’s easy to find everything you need.
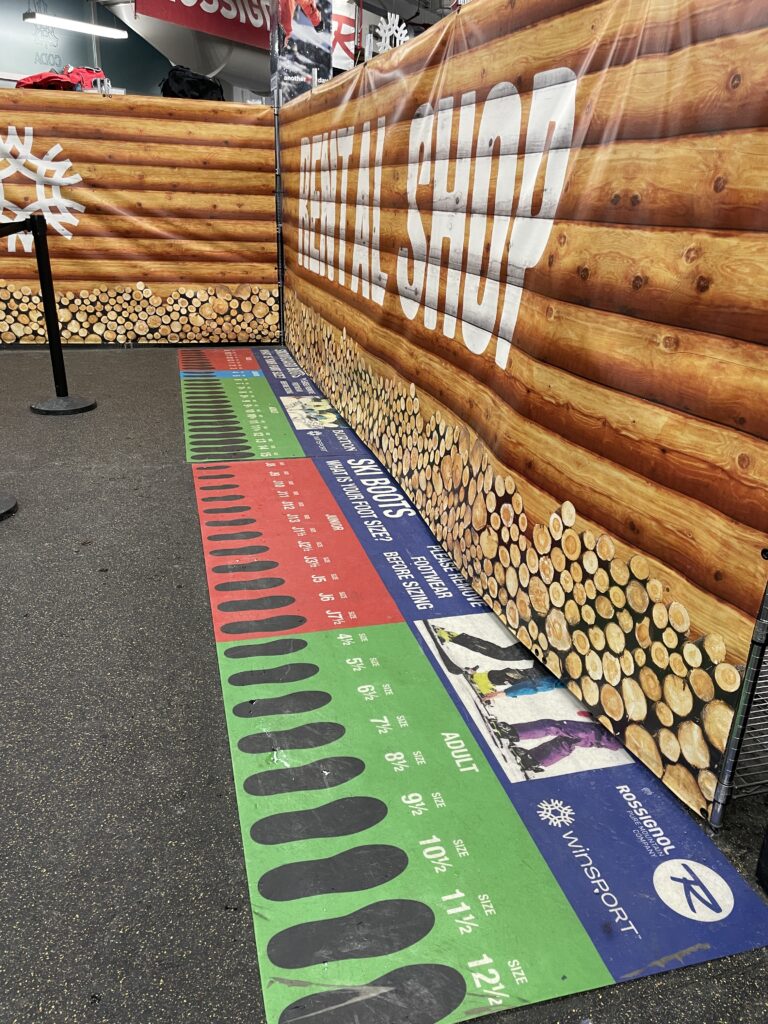
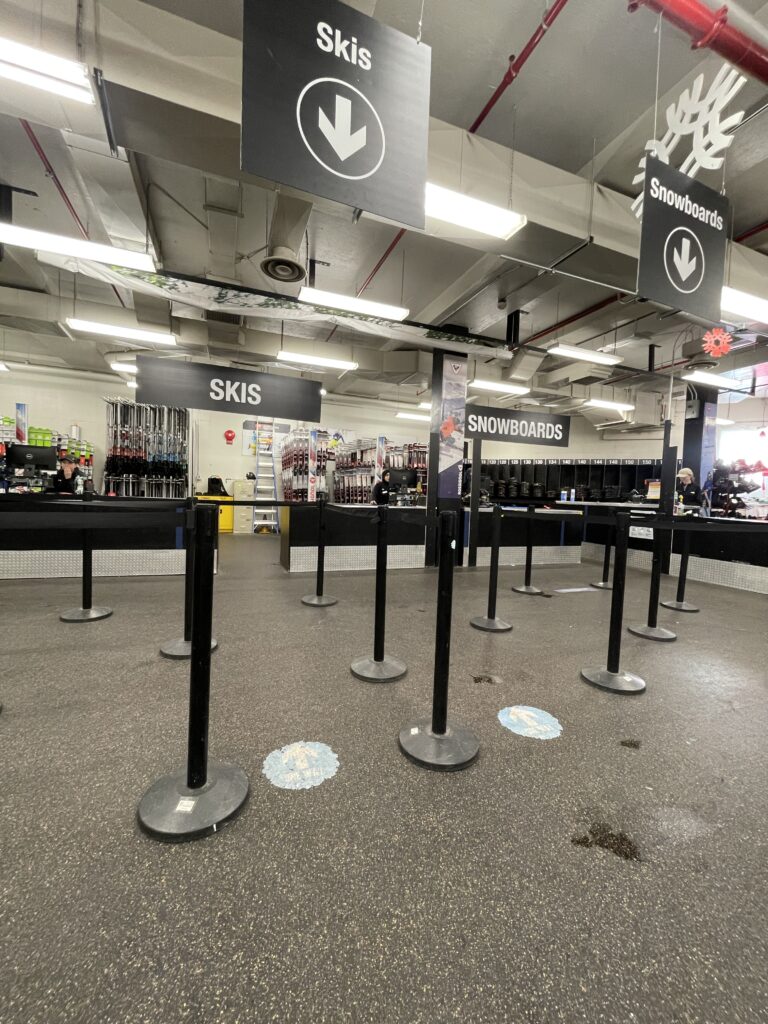
They’ve got separate lines for paying for rentals and getting your boots, and another line for picking up your board or skis (if you’re skiing) and helmet. Before they hand over your gear, you got to fill out a waiver form. No worries if you’re unsure about your boot size – the staff are super helpful with that. The equipment and gear are completely sanitized and cleaned before the next person uses them.
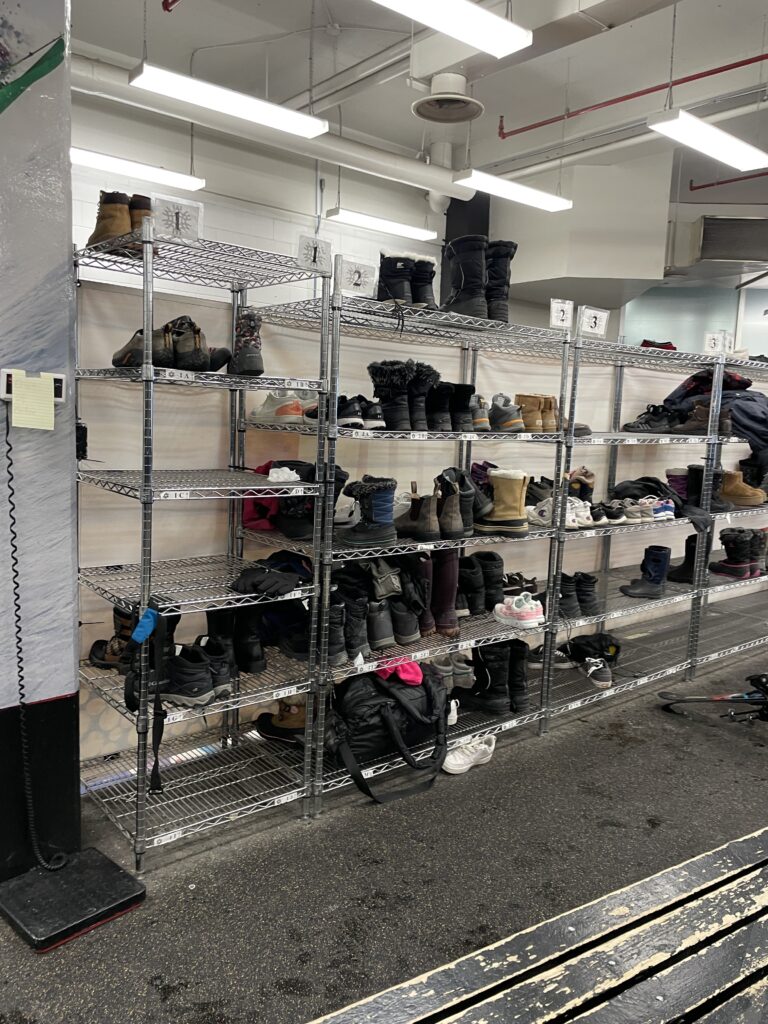
In the rental area, you’ll find shelves where you can stash your shoes and clothes for free. There are also benches handy for gearing up. If you need a locked locker, you can rent one out for extra security.
Oh, and if you need the restroom or a drink, they’ve got that right in front of the rental station, which is handy. We didn’t use a changing room to get ready. We just layered our jackets and snow pants over our thermals, and we were good to go!
The Area and The Hill
The facility is well-maintained and clean, with clear signage throughout to prevent getting lost. If you do need help, there are plenty of staff in blue vests ready to assist.
The hill is also well-kept, with a snow machine used to groom it for snowboarders and skiers. We even saw them grooming the hill before it officially opened at 9, just before our class – sorry we missed getting a photo!
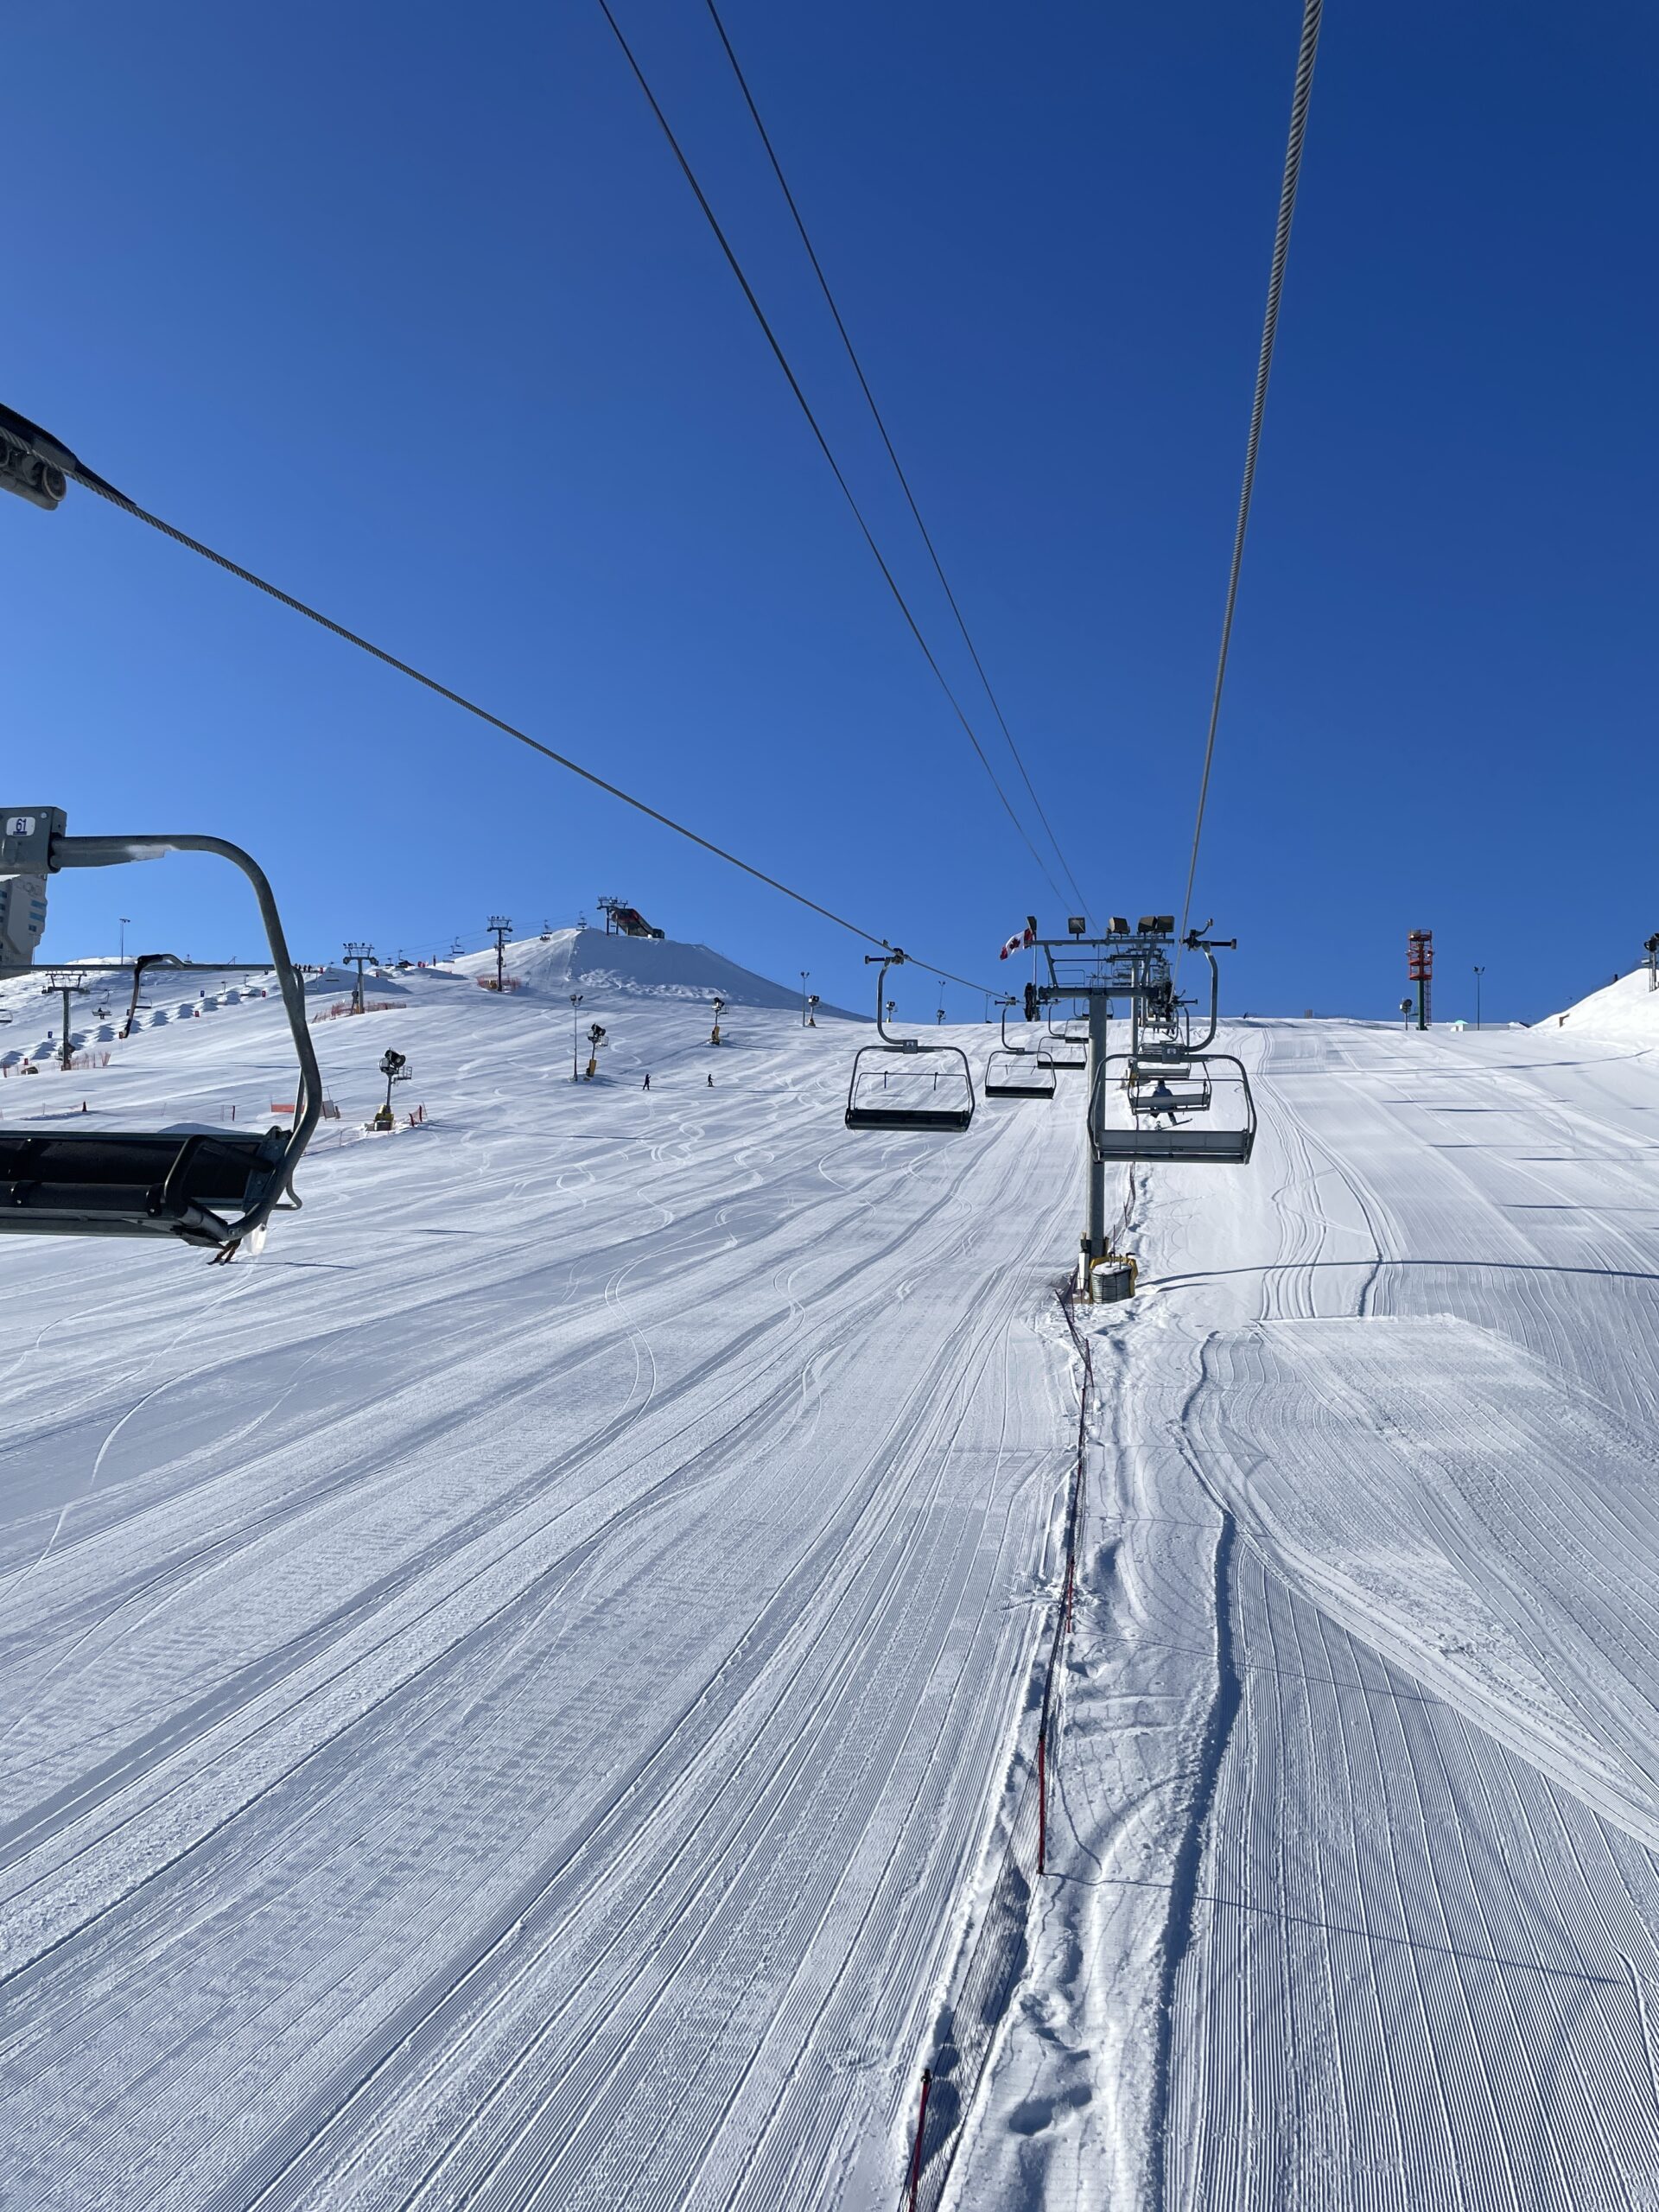
One thing to note is that the silver hill, where beginners classes are held, can get very busy with learners of all ages. Navigating through a mix of kids and adults, all beginners, can be a bit challenging. The gold hill and chairlift areas, however, offer more space and fewer kids, making it easier to maneuver.
That said, the silver hill has a good length and incline that’s perfect for beginners.
The Snowboarding Class
In the 3-day class, each session lasting 2 hours, you really dive into learning snowboarding basics. It’s all hands-on, right on the hill. The instructor shows you how it’s done, and then it’s your turn to try it out immediately.
We found that smaller class sizes are really beneficial. With fewer people, you get more turns on the hill and the instructor can give you more personalized attention. The class can feel a bit fast-paced because you’re diving into more advanced skills right away. But as you go through the sessions, you start to get the hang of things and improve with each run down the hill.
It’s a bit tough at first since you’re figuring things out on the fly, but you get feedback right after each attempt. Unlike most classes where you might get a lecture first, here you’re learning by doing. It’s all about finding your balance, gaining control, and getting comfortable on the snowboard.
We’re happy with the skills we gained from both lessons, and we highly recommend giving these classes a shot, especially if you’re new to snowboarding.
Here’s Our Suggestions
If you plan to snowboard as an adult, here are our recommendations:
- Take Classes
Sure, classes might cost more, but they’re worth it. They help you reduce the risk of injury, teach you the basics, and boost your confidence. Plus, you’ll learn how to fall properly. A lot of snowboarders end up breaking their wrists because they don’t know how to fall. This sport is a blast, but to really enjoy it, you need to fall less often and feel more confident.
- Phase Your Expenses
Snowboarding can get pricey, so it’s smart to spread out your expenses. Start by renting gear to see what works best for you before making any big purchases. There’s a ton of gear out there, and trying different options will help you figure out what fits you best.
- Invest in a Durable Helmet
Make sure you invest in a good helmet and wear it all the time. Catching an edge can be brutal. Snowboarding is a high-energy sport with its risks, and even though some people on social media don’t wear helmets, it’s not worth the risk. Safety first, always.
CHECK OUT THESE VIDEOS
by SnowboardProCamp
by REI
by Malcolm Moore
- Train Yourself with Balance and Flexibility
You need good balance to avoid catching an edge. Snowboarding puts a lot of emphasis on your front foot, so knowing how to distribute your weight is key. Balancing your weight between both feet helps you control your turns and stops. Flexibility, especially in your lower body, is also super important. Work on your knees because they’ll take a lot of strain. You need them for turning and riding the board.
- Take It Easy and Try Not to Tense Up
Relax and don’t tense up. We had our best form when we were relaxed. Being tense makes you less confident, and snowboarding requires you to commit to your movements. If you’re not committed, you’ll fall. Tension also makes you use more energy, which tires you out faster. Staying relaxed helps you keep better form and enjoy snowboarding more.
Looking Ahead to Another Snowboarding Season!
Looking forward to the next winter season, where we can hit the slopes again and put our skills to the test. We hope we remember everything for an enjoyable ride!
We’re really curious about your experiences with snowboarding as an adult. Let’s swap tips and share our favorite snowboarding spots!
Drop us a line on social media and let’s connect!

